
Forms
Using forms in your AI Agents will make it easier for your customers to give you their information, as well as improving the efficiency and usability of the data you collect. It’s also a simple and effective sales tool because the insights you gain into your prospective customers can be leveraged later in follow up interactions.
The good news is, we’ve made it super easy to add forms to your AI Agent and this tutorial will share more info about how.
Why use forms?
Forms can help your AI complete its overarching goals by collecting customer information in an easy and natural way, by asking one question at a time.
Forms can:
- Improve the user experience with guided steps, making it feel faster for whoever is filling it out
- Collect data in a structured and consistent way, reducing the likelihood of errors or missing information (and without extra manual labor)
- Break down complex queries into manageable chunks so end users can quickly fill out fields without too much cognitive load
- Capture specific details that enable the AI agent to provide more personalized and relevant responses
- Forms can also be the trigger for other important processes and functions, like:
- Switching to a different mode
- Triggering a different function action
- Sending the data to other integrated systems (like your CRM, marketing software or quoting tools) by setting up a function
- Helping you track your AI’s goals and conversions
- Using the data collected and storing it as ‘memories’ in your AI to make conversations flow more naturally and personalized
How to Create Forms
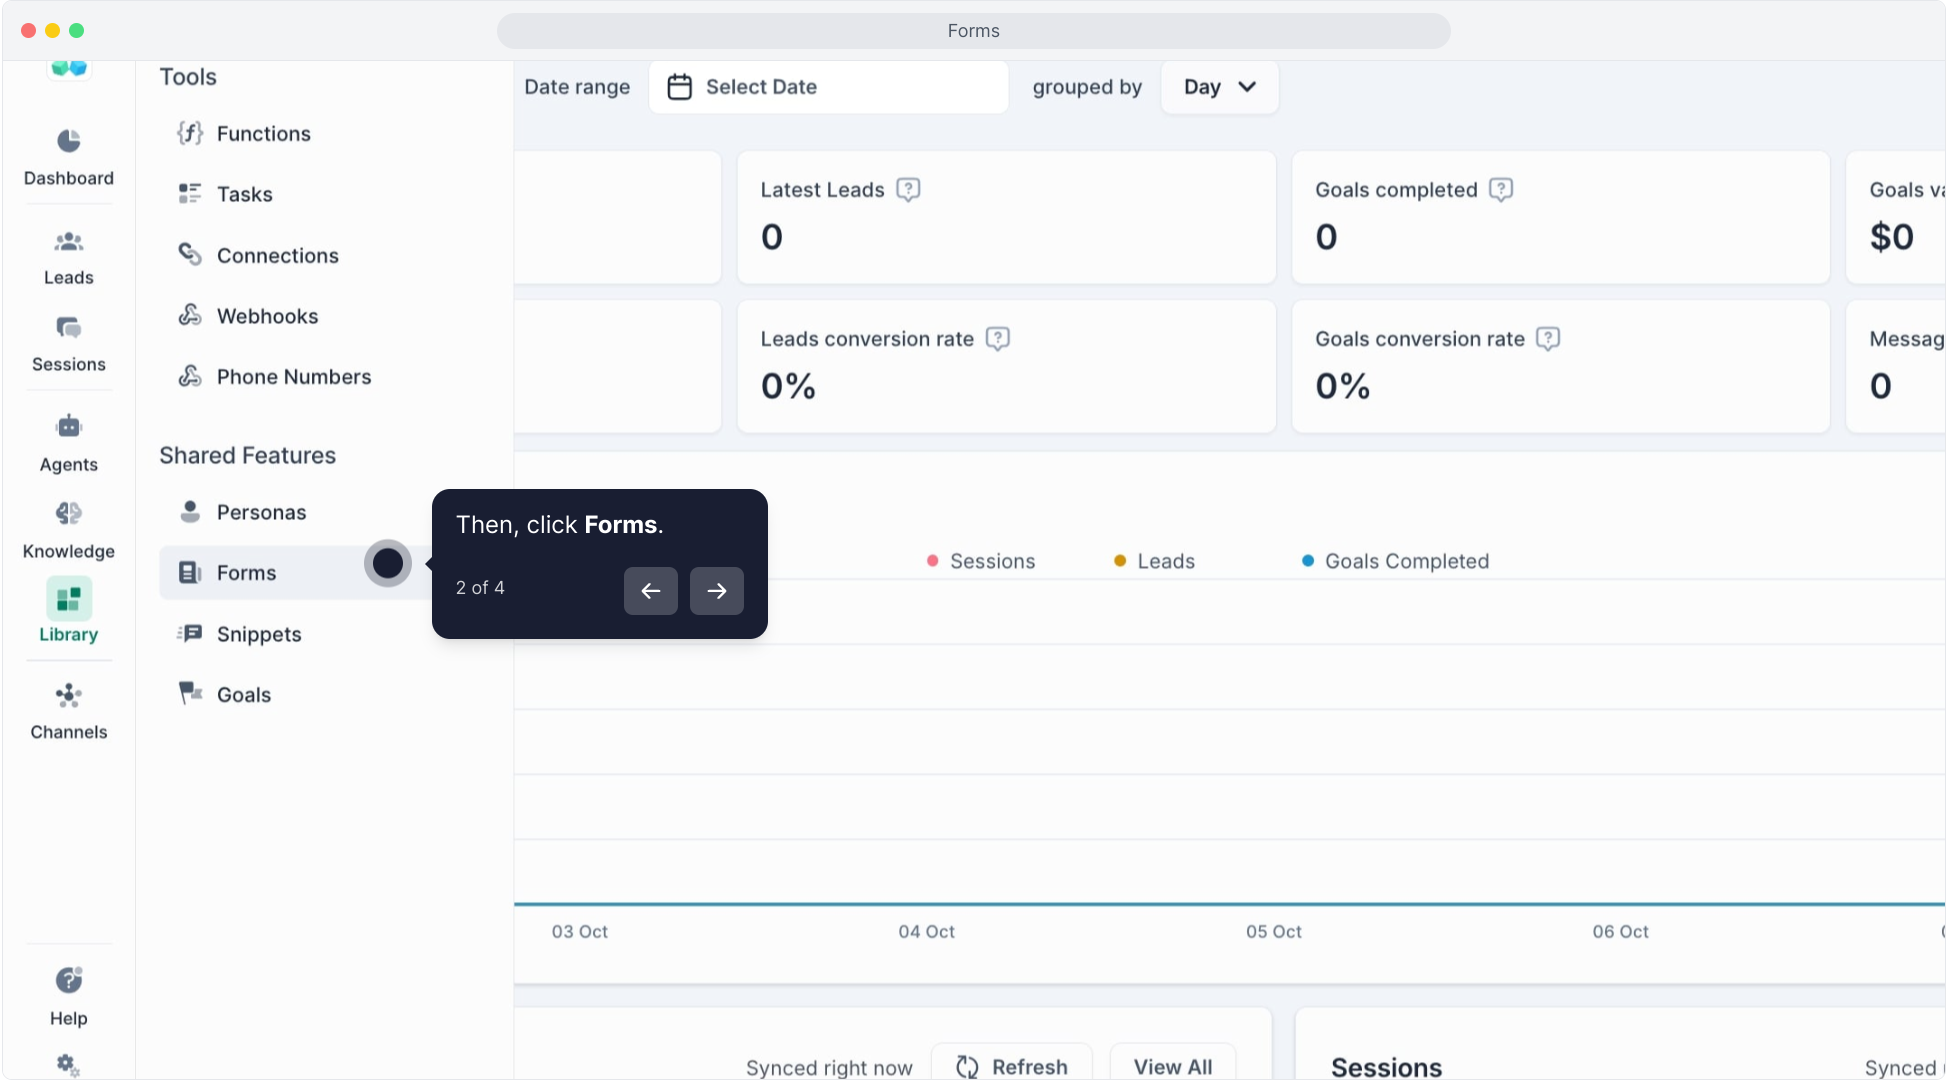
Step 1: Access Forms
Go to the Library > Forms section on the left sidebar.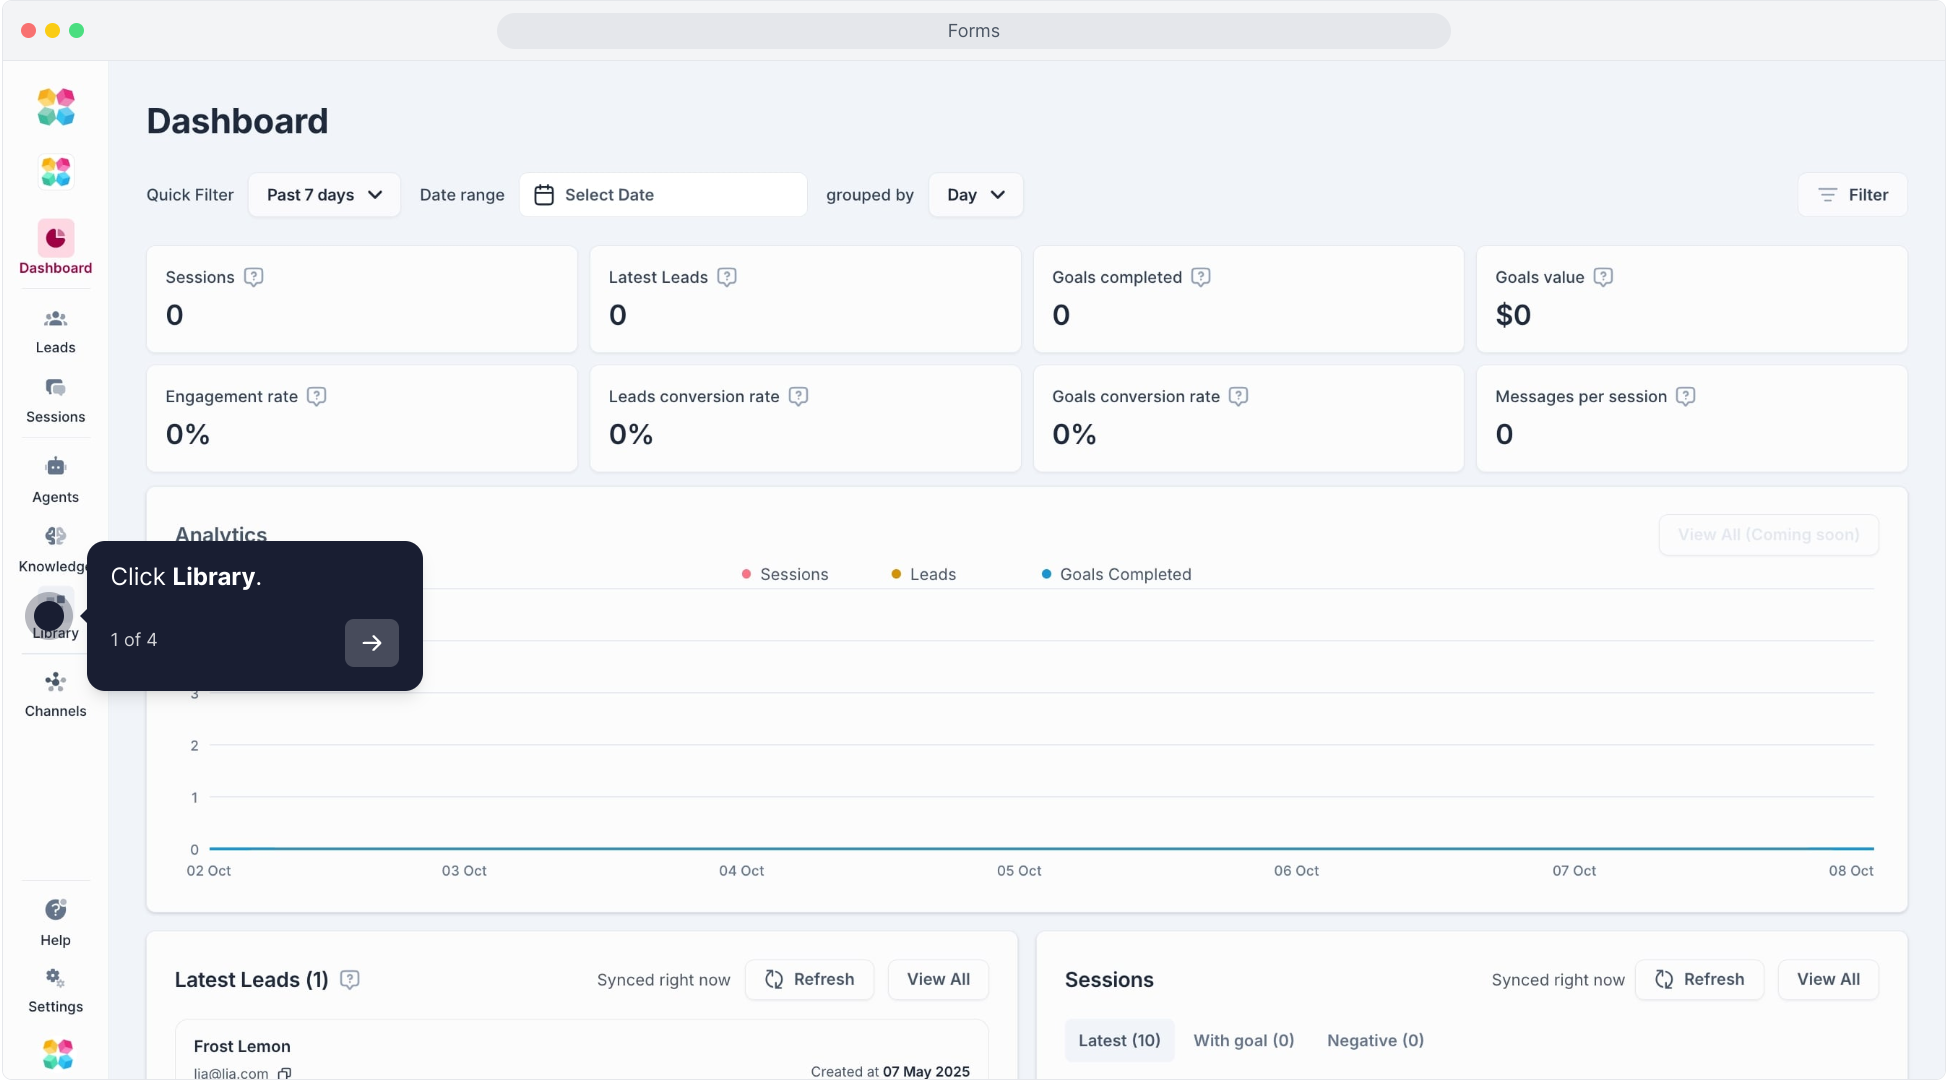
Click on Create New to start a new form.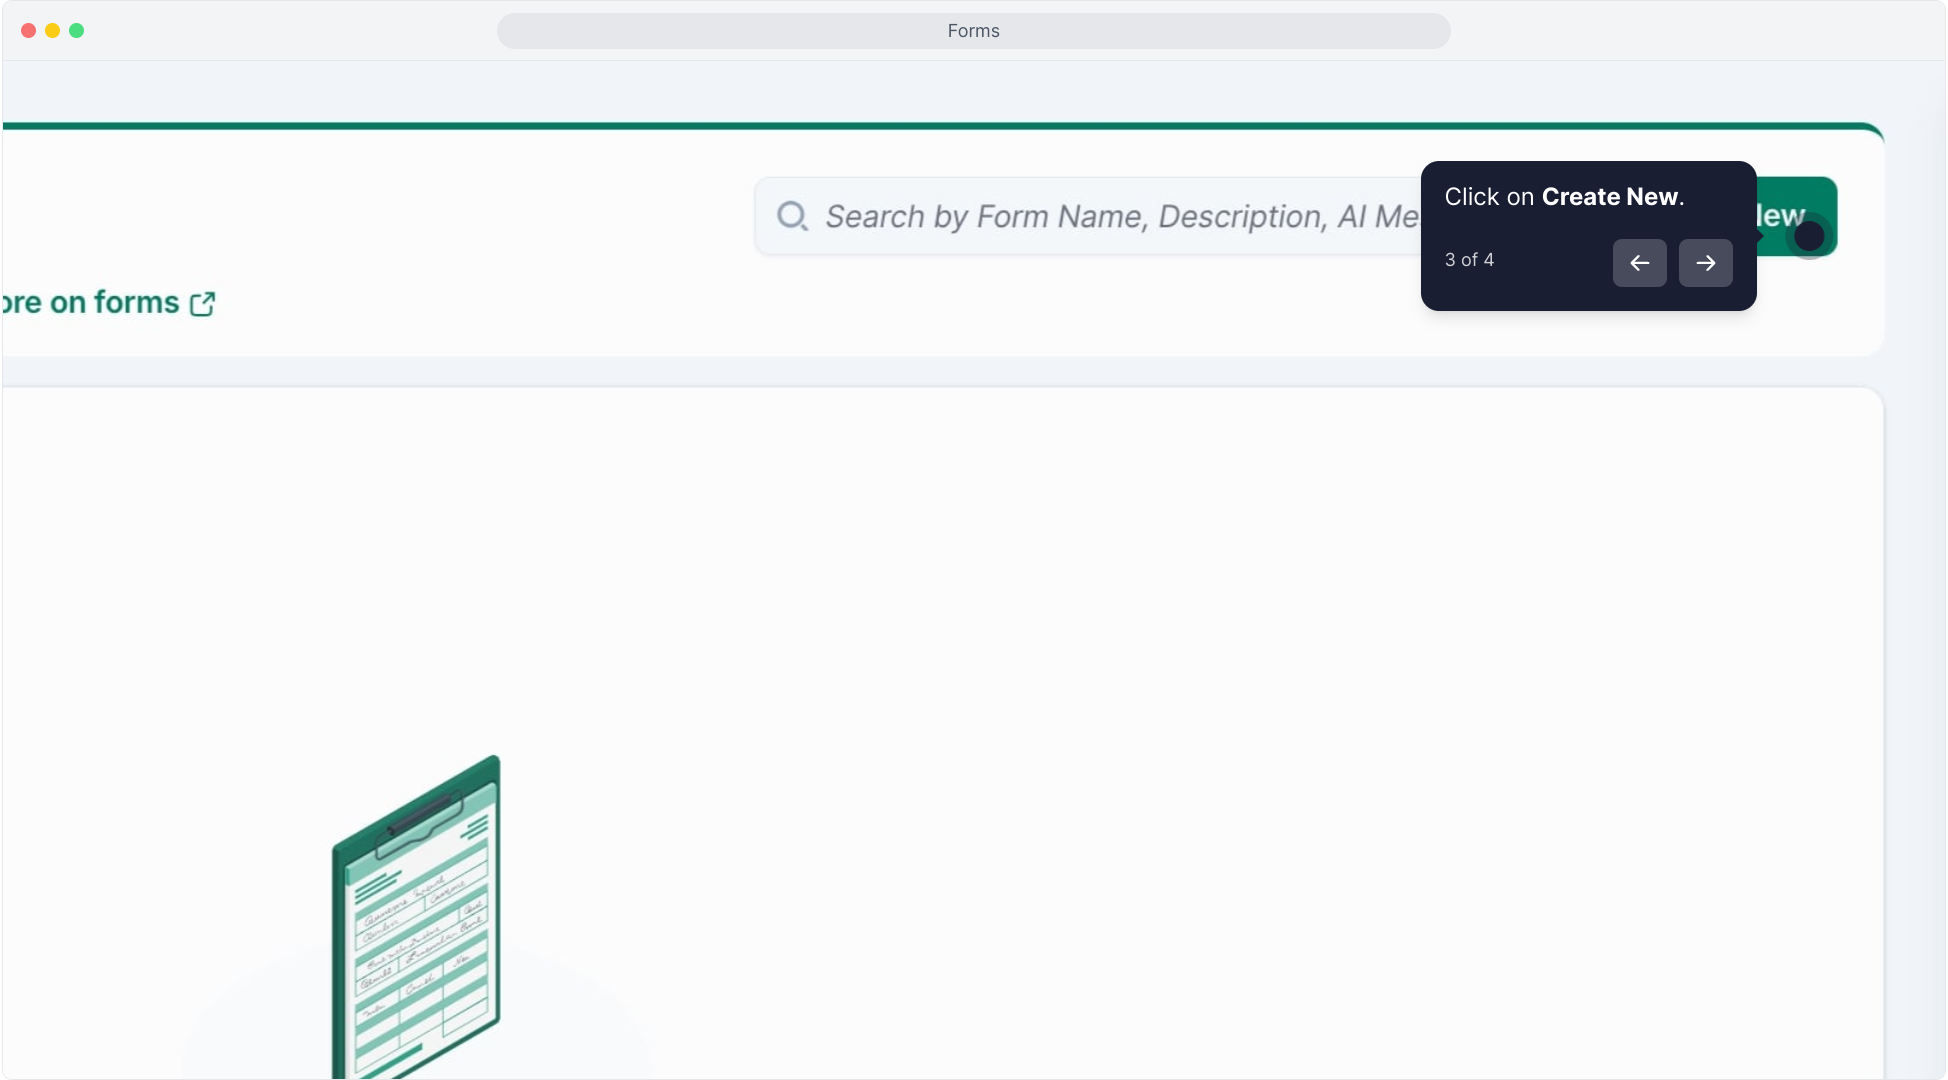
Step 2: Set Up the Form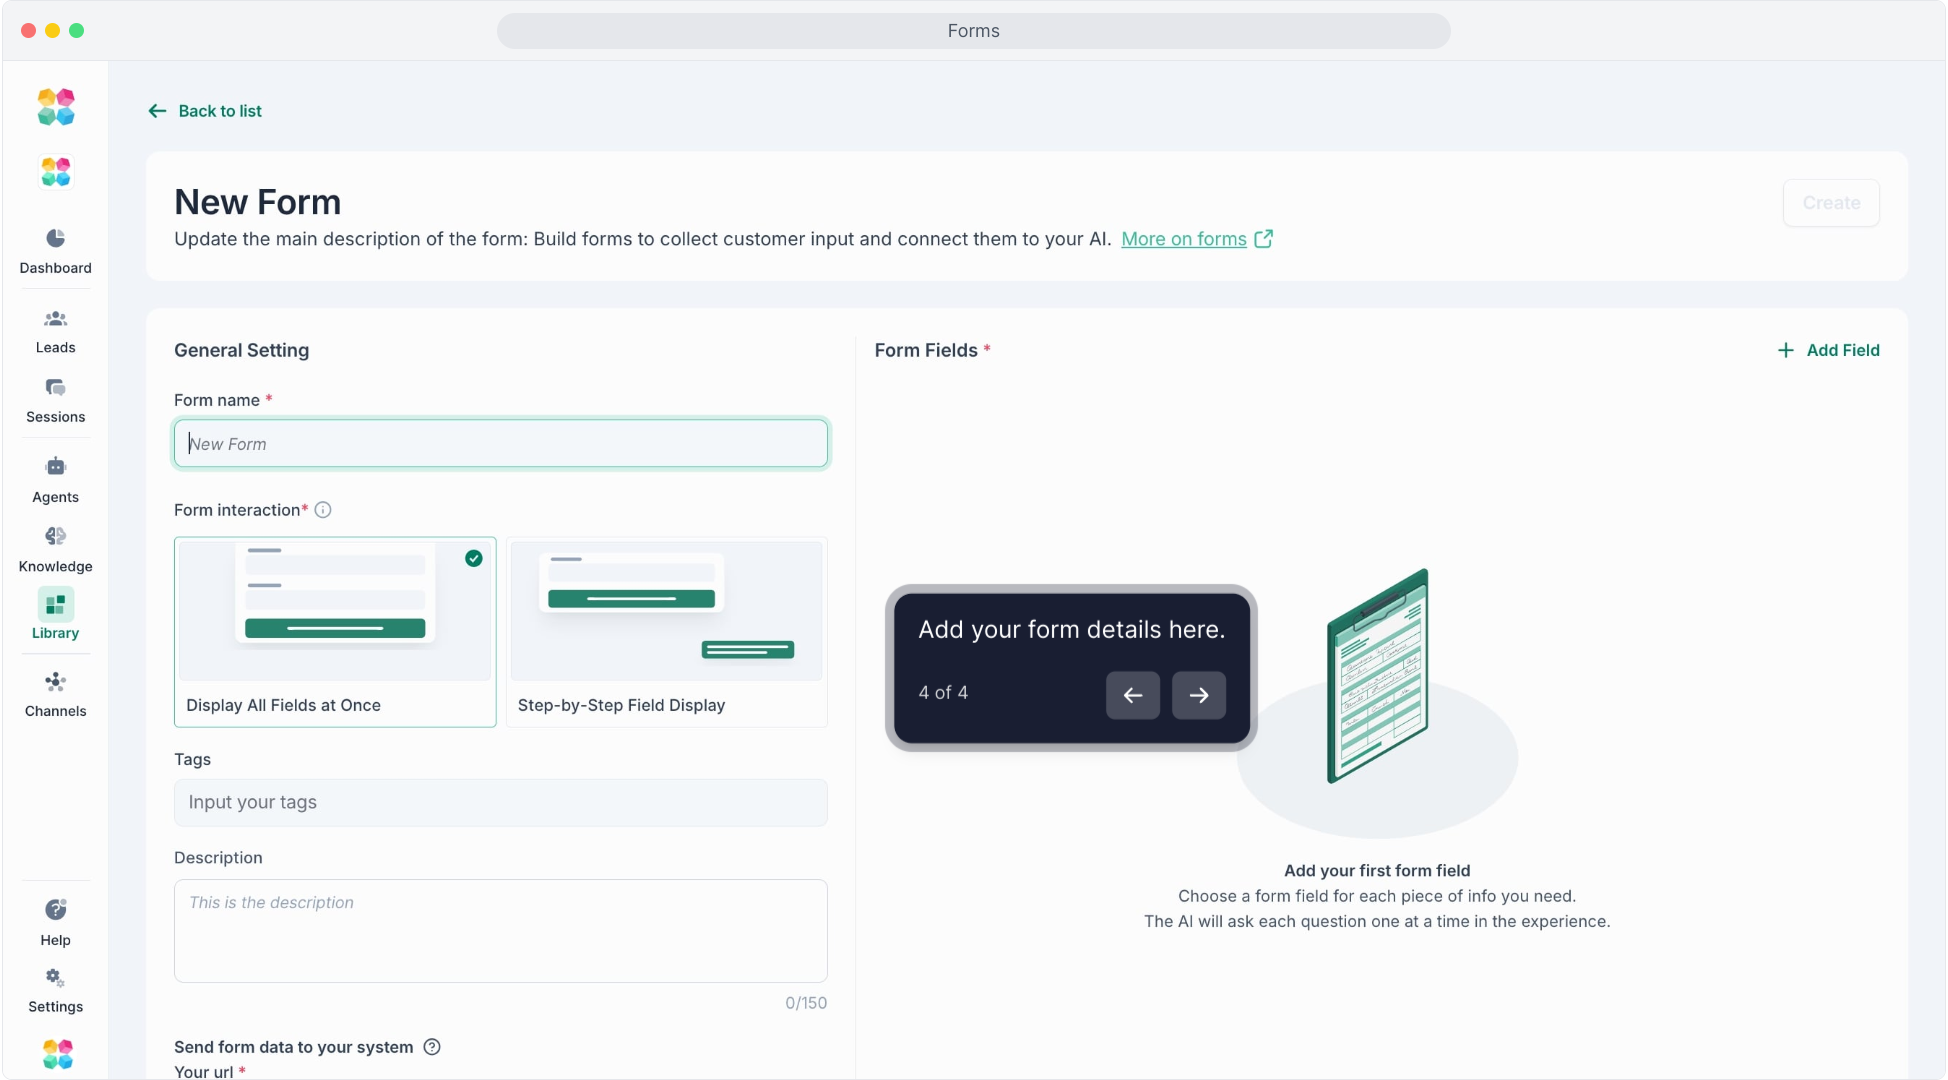
In the form setup:
- Form Name: Give the form a descriptive name (e.g., "Contact Information" or "Budget Inquiry").
- Tags: Add tags if you want to categorize or filter forms later.
- Description: Optionally, describe the form's purpose to help other team members understand its use.
Step 3: Configure the Form's API URL (Optional)
If you want to send form data to an external source (like a CRM), you can add an API URL. This step is optional but valuable if you're integrating with external tools.
Step 4: Add Form Fields
To add fields:
Click Add Field.
Field Name: Enter a clear, descriptive name for each field.
AI Message Versions: Optionally, provide different ways for the AI to ask for this field's data (e.g., “What is your budget?” or “Could you share your budget with us?”).
Field Settings:
Go to Field Settings.
- Field Type: Choose the type of data you want to collect. Field Type Options:
- Short Text: For brief responses like names.
- Long Text: For detailed responses like descriptions.
- Number: For numerical data, like age or quantity.
- Dropdown: For multiple-choice questions.
- Choice: Allow multiple selections.
- Email/Phone: For contact information.
- Rating: For user ratings on a scale.
- User Reply Settings: Add labels, helper text, and any placeholders that will guide the user when they fill in this field.
- Required: Toggle this setting on if the field is mandatory for submission.
Step 5: Save and Deploy the Form
Once you’ve added all fields, click Save.
The form is now ready to be used in any AI Agents.
Add Forms to AI Agent's Actions
Go to the Actions tab in your AI Agents setup.
Create or Select an Action:
If you already have an Action set up, select it from the list on the left.
Otherwise, click on New Action to create a new one.
Configure Actions:
In the Actions list on the right, select Add Forms. This will allow the AI to prompt users to fill out a form as part of the conversation.
Select a Form:
In the Add Forms section, click on Select your form to choose the form you want the AI to display.
If you haven’t created a form yet, you may need to go to the Forms section and create one first.
Set Action on Submit:
Choose what action should follow after the user submits the form. Options may include ending the chat, switching modes, or sending a specific message.
Customize the Submit Message
Under Message on submit, write a message that the AI will display once the form has been submitted. This could be a confirmation or follow-up message, like “Thank you for providing your details!”
Save the Action:
Once configured, save your Action settings. This ensures that the form action is correctly embedded into the AI Agents's flow.
Viewing Forms in Sessions
From sidebard, go to Session > All Conversations tab where you can see the list of all user interactions with your AI.
Filter by Forms:
Use the Forms filter button located at the top of the conversation list.
Click on it to bring up a dropdown where you can select or search for specific forms that were used in sessions.
Once you find the desired form, click Apply to filter and display only the sessions where that form was used.
Review Session Details
After applying the filter, review each session to see user interactions where the selected form was used.
This view will help you analyze the form's usage and effectiveness within the conversation flow, allowing you to see if users completed the form as intended.
Filtering by forms in sessions allows you to track and analyze specific data collection points, making it easier to refine the user experience and improve data gathering for your AI's tasks.