
Embedding
Embedding a code for an AI Agent on a website means adding a small piece of code (provided by us) into your website's HTML (which is the back-end code of a website that determines its layout and function).
This code will allow the chatbot to appear and function on the website, where your visitors and potential customers can interact with it.
How to embed a published Agent on your website
Once you're happy with the Agent and how it's working, it's time to embed it on your website! Here's how:
1. To go live, click on "Agents".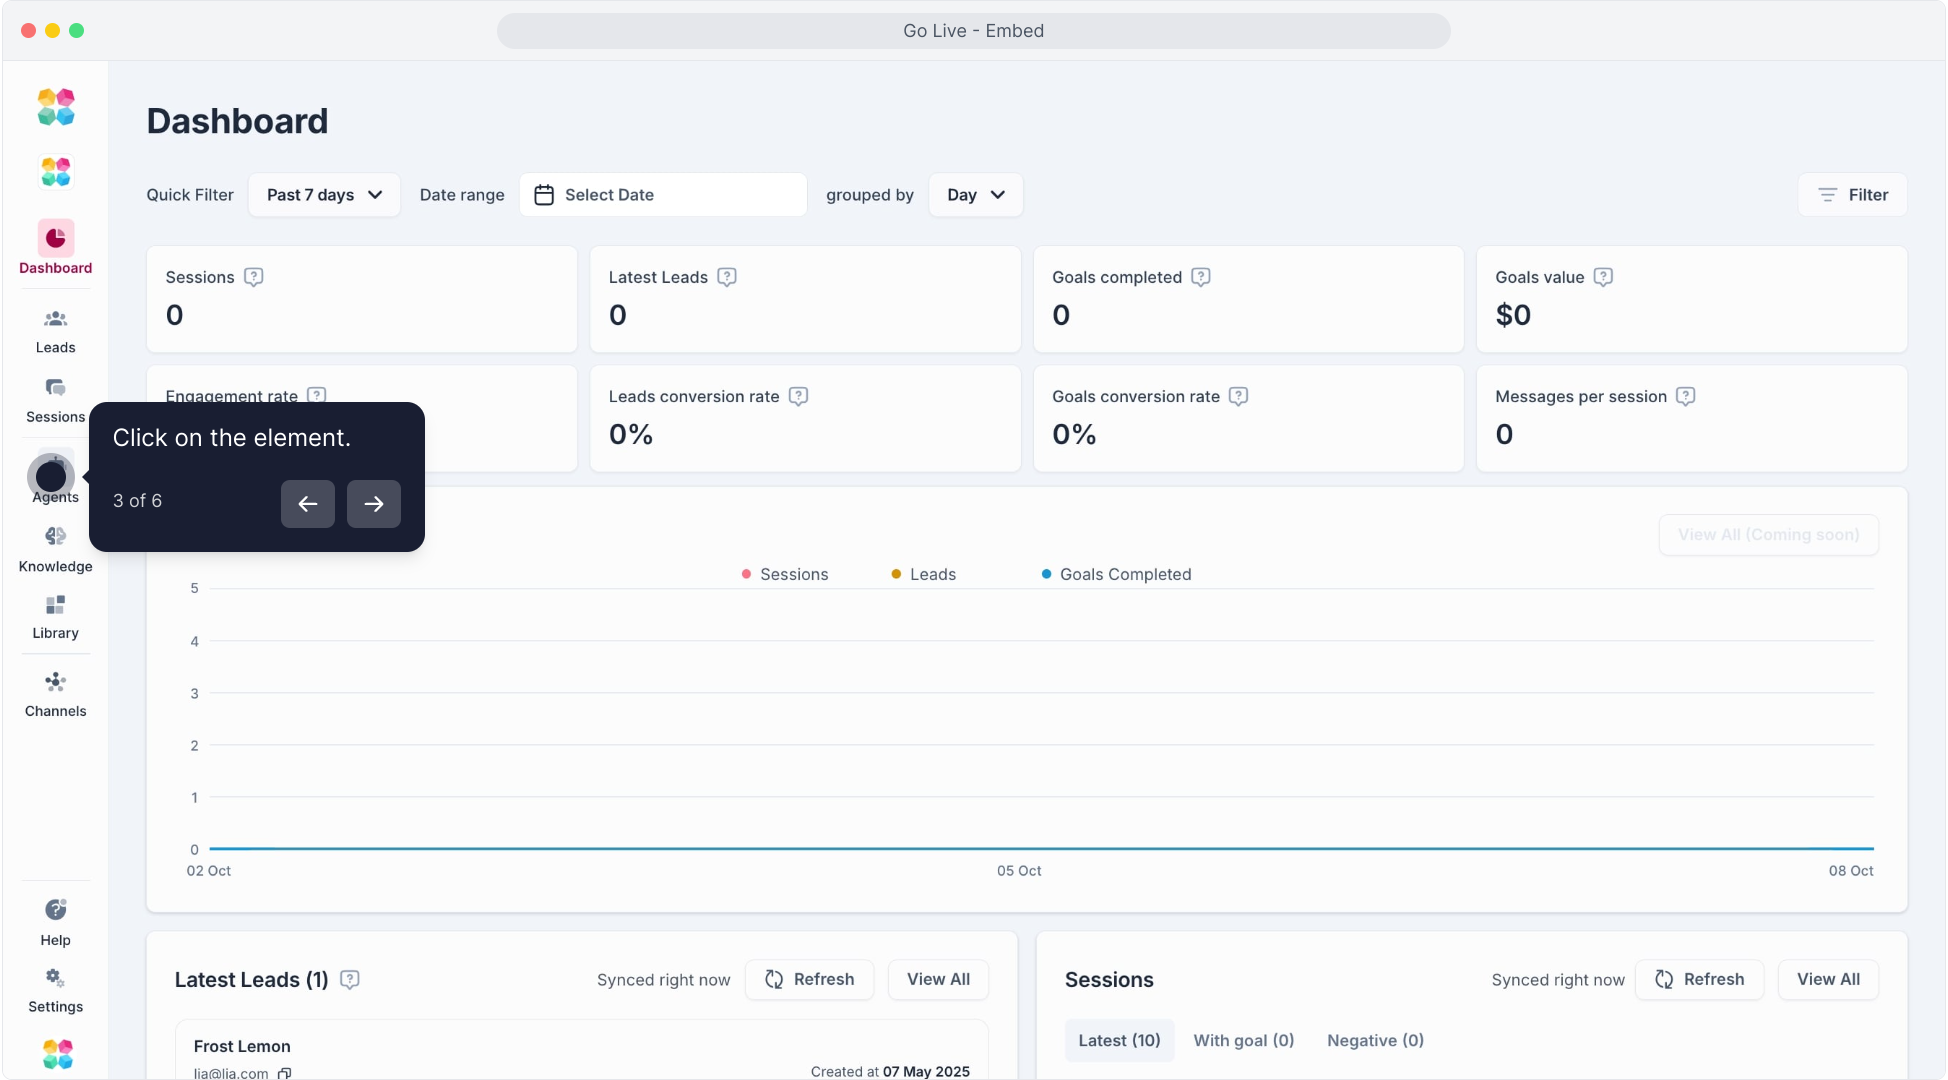
2. Then select one of the AI Agents that you want to publish to a website.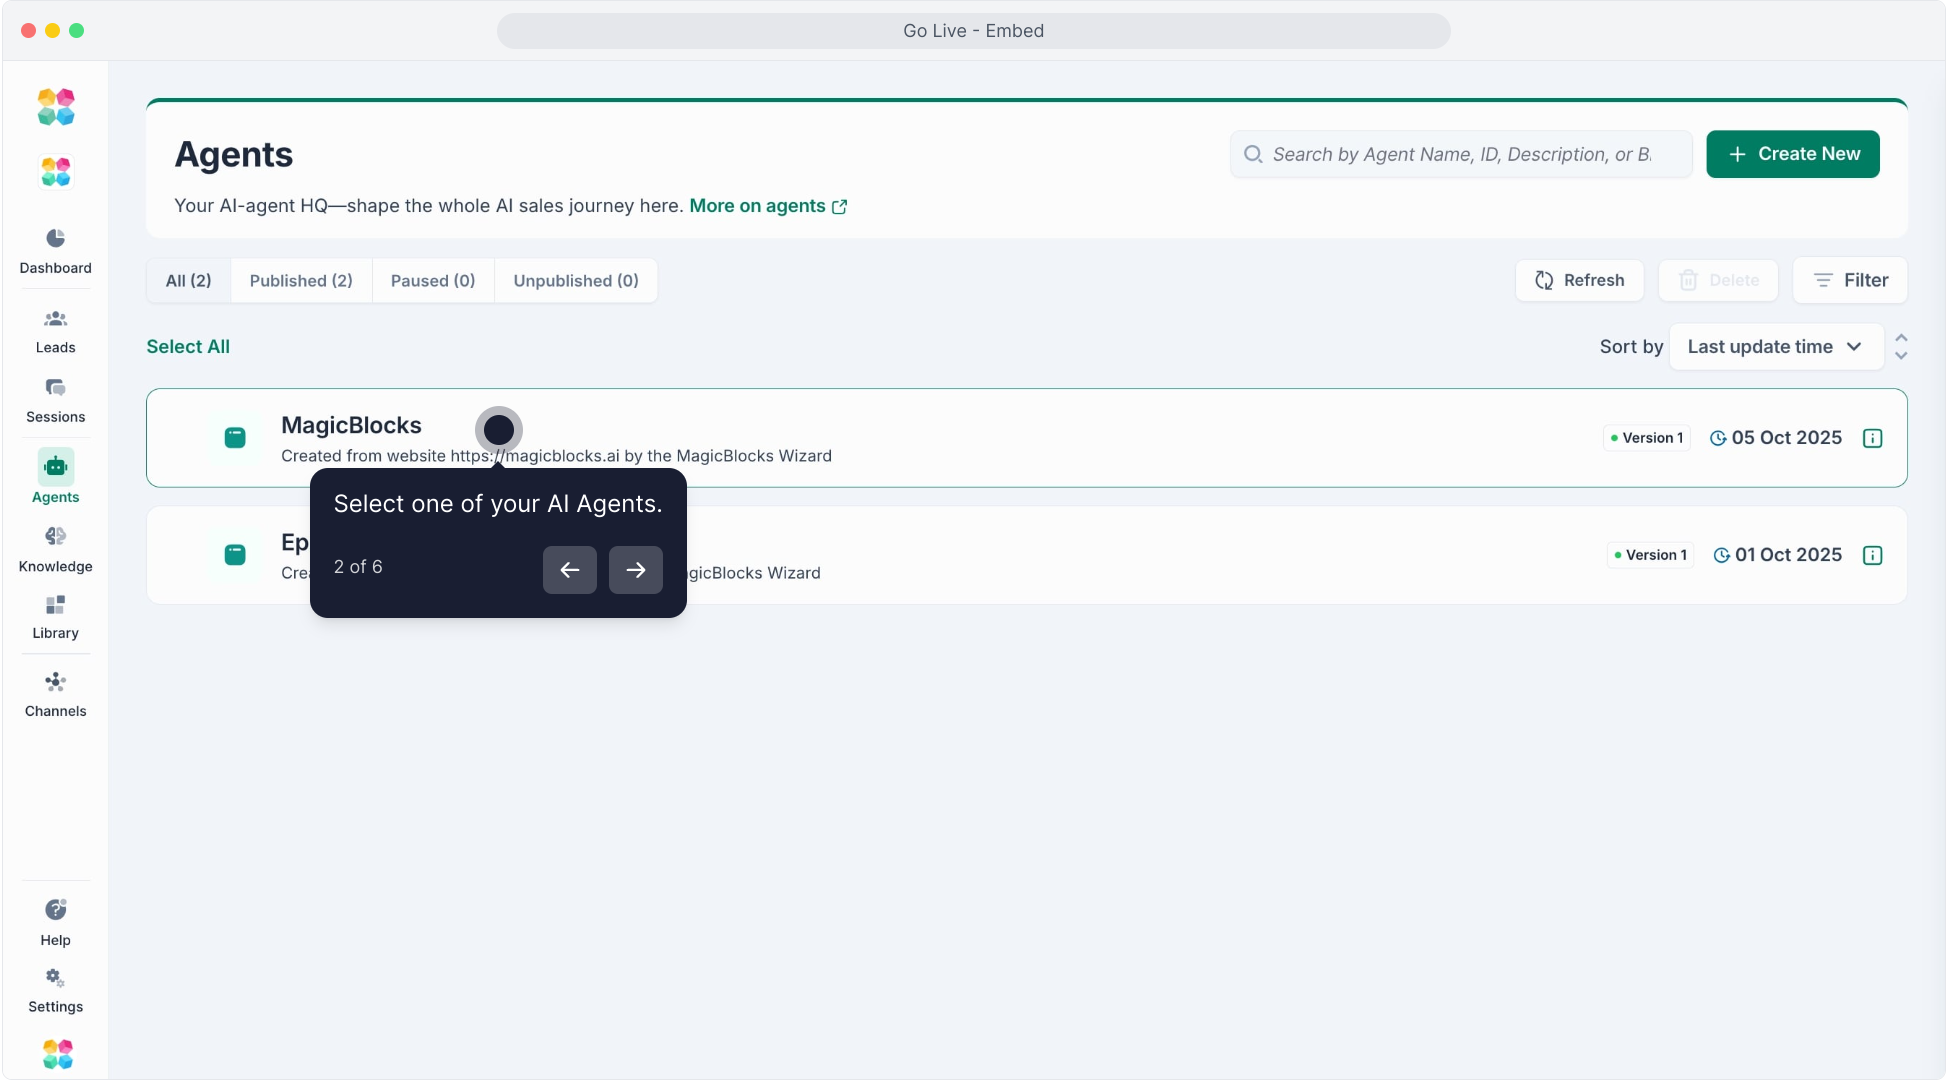
3. Make sure you've published the AI Agent.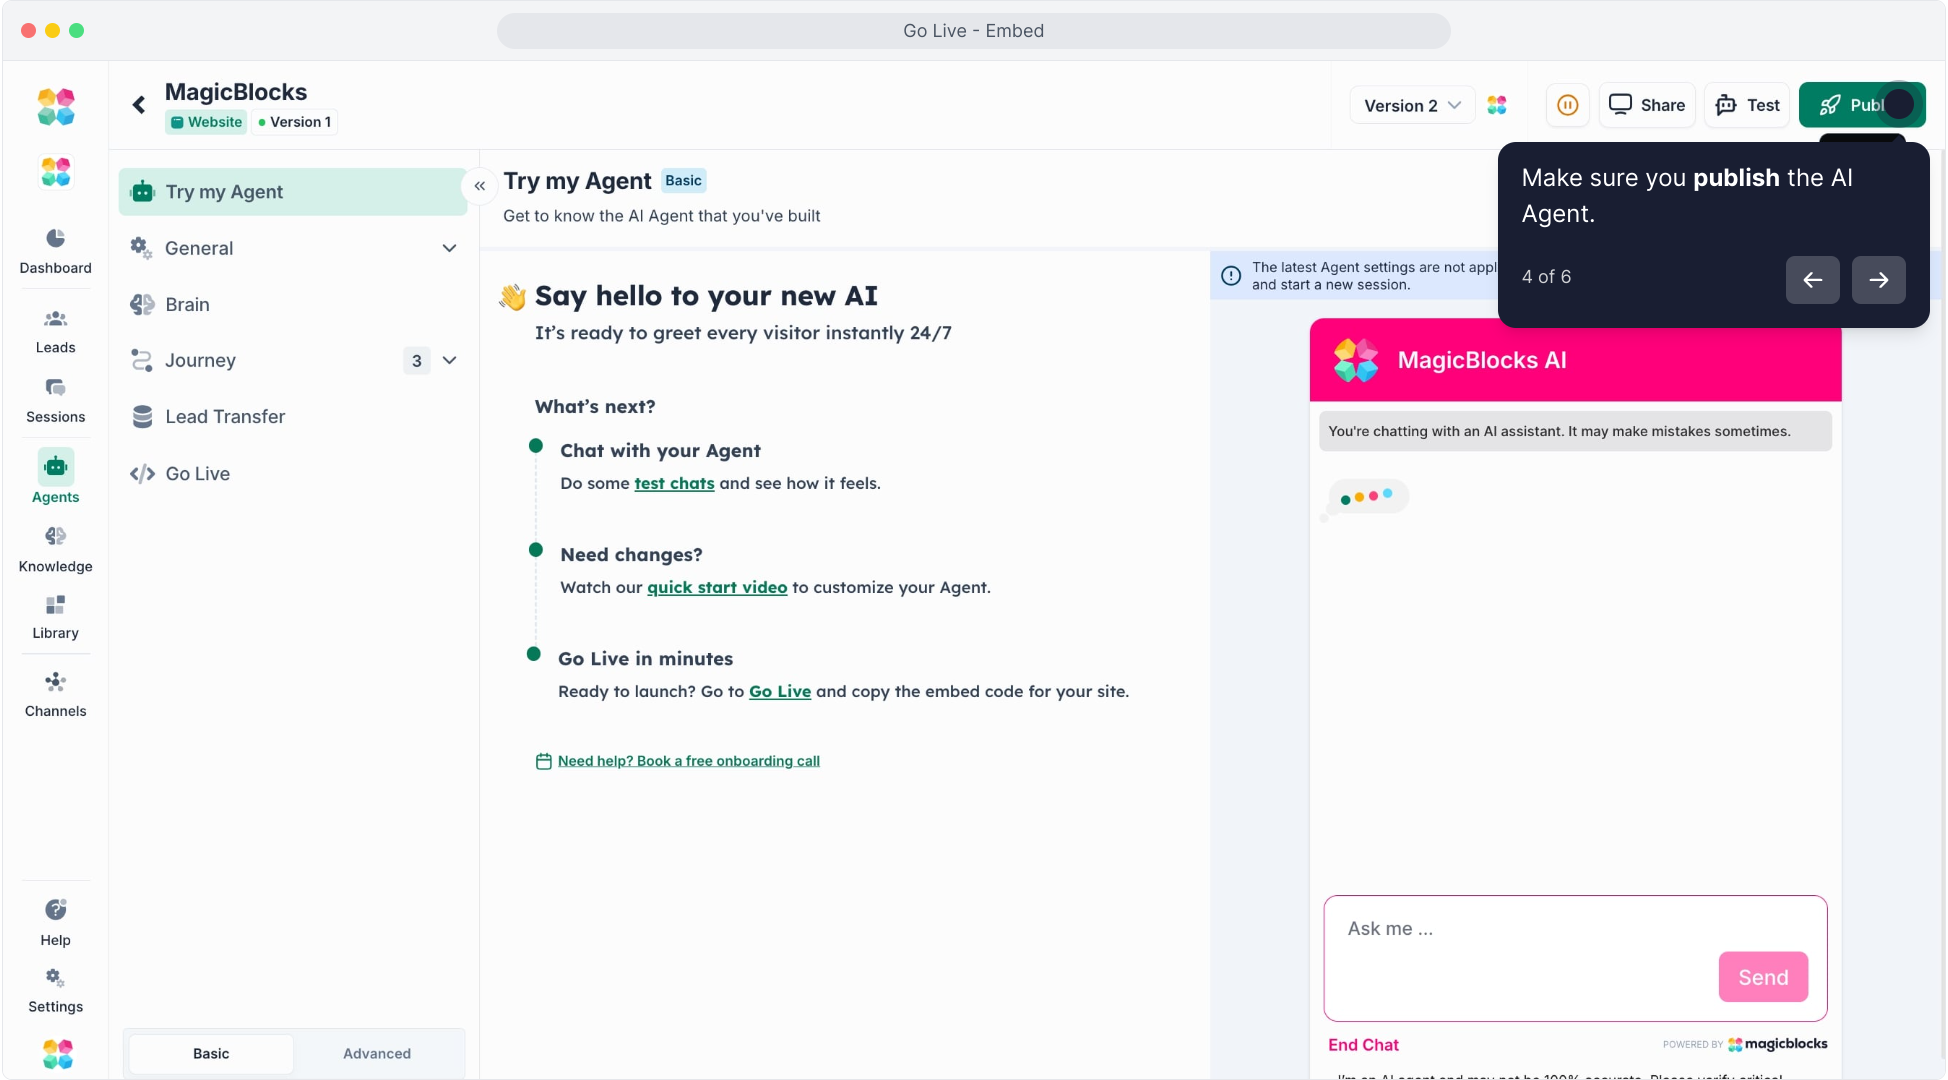
4. Then, click on "Go Live".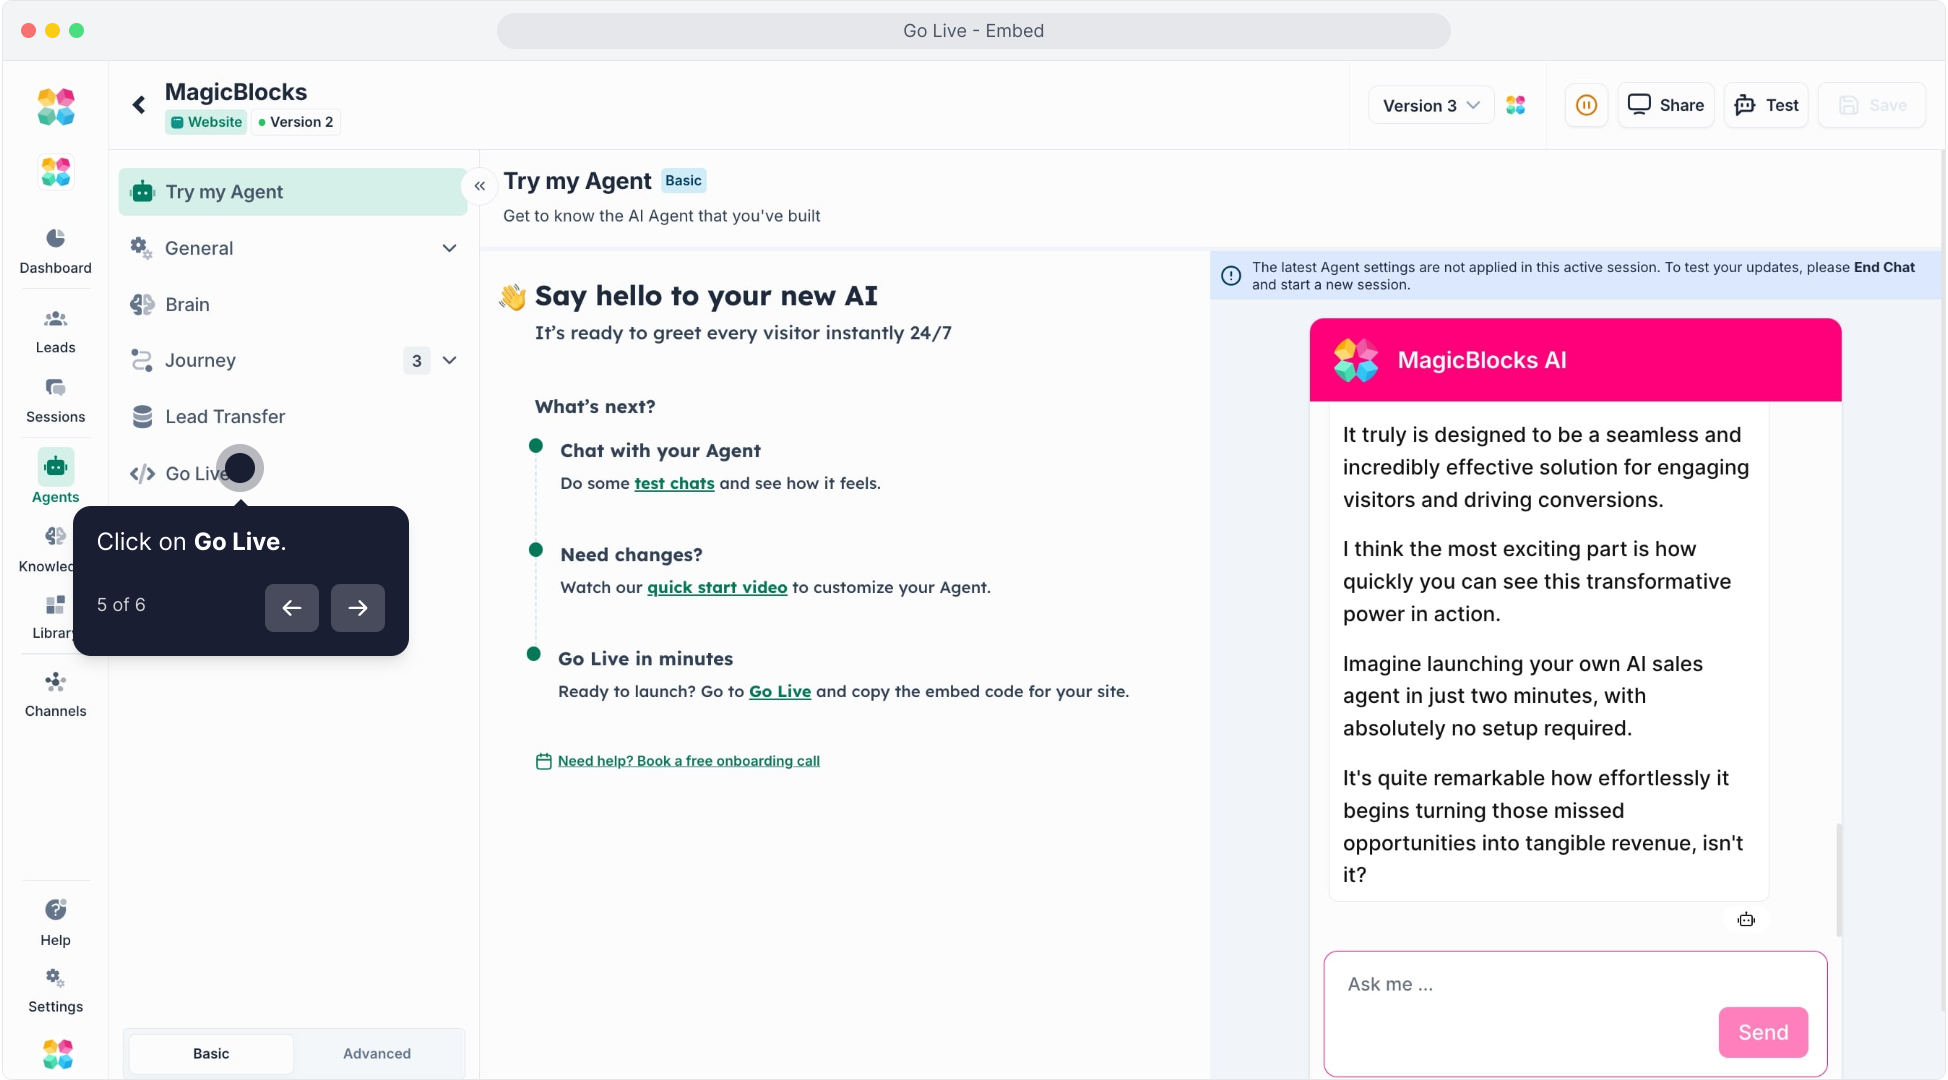
5. On the Go Live page, you can choose the appearance you want for your AI Agent, using the drop-down (these will be your saved appearances, or a default one)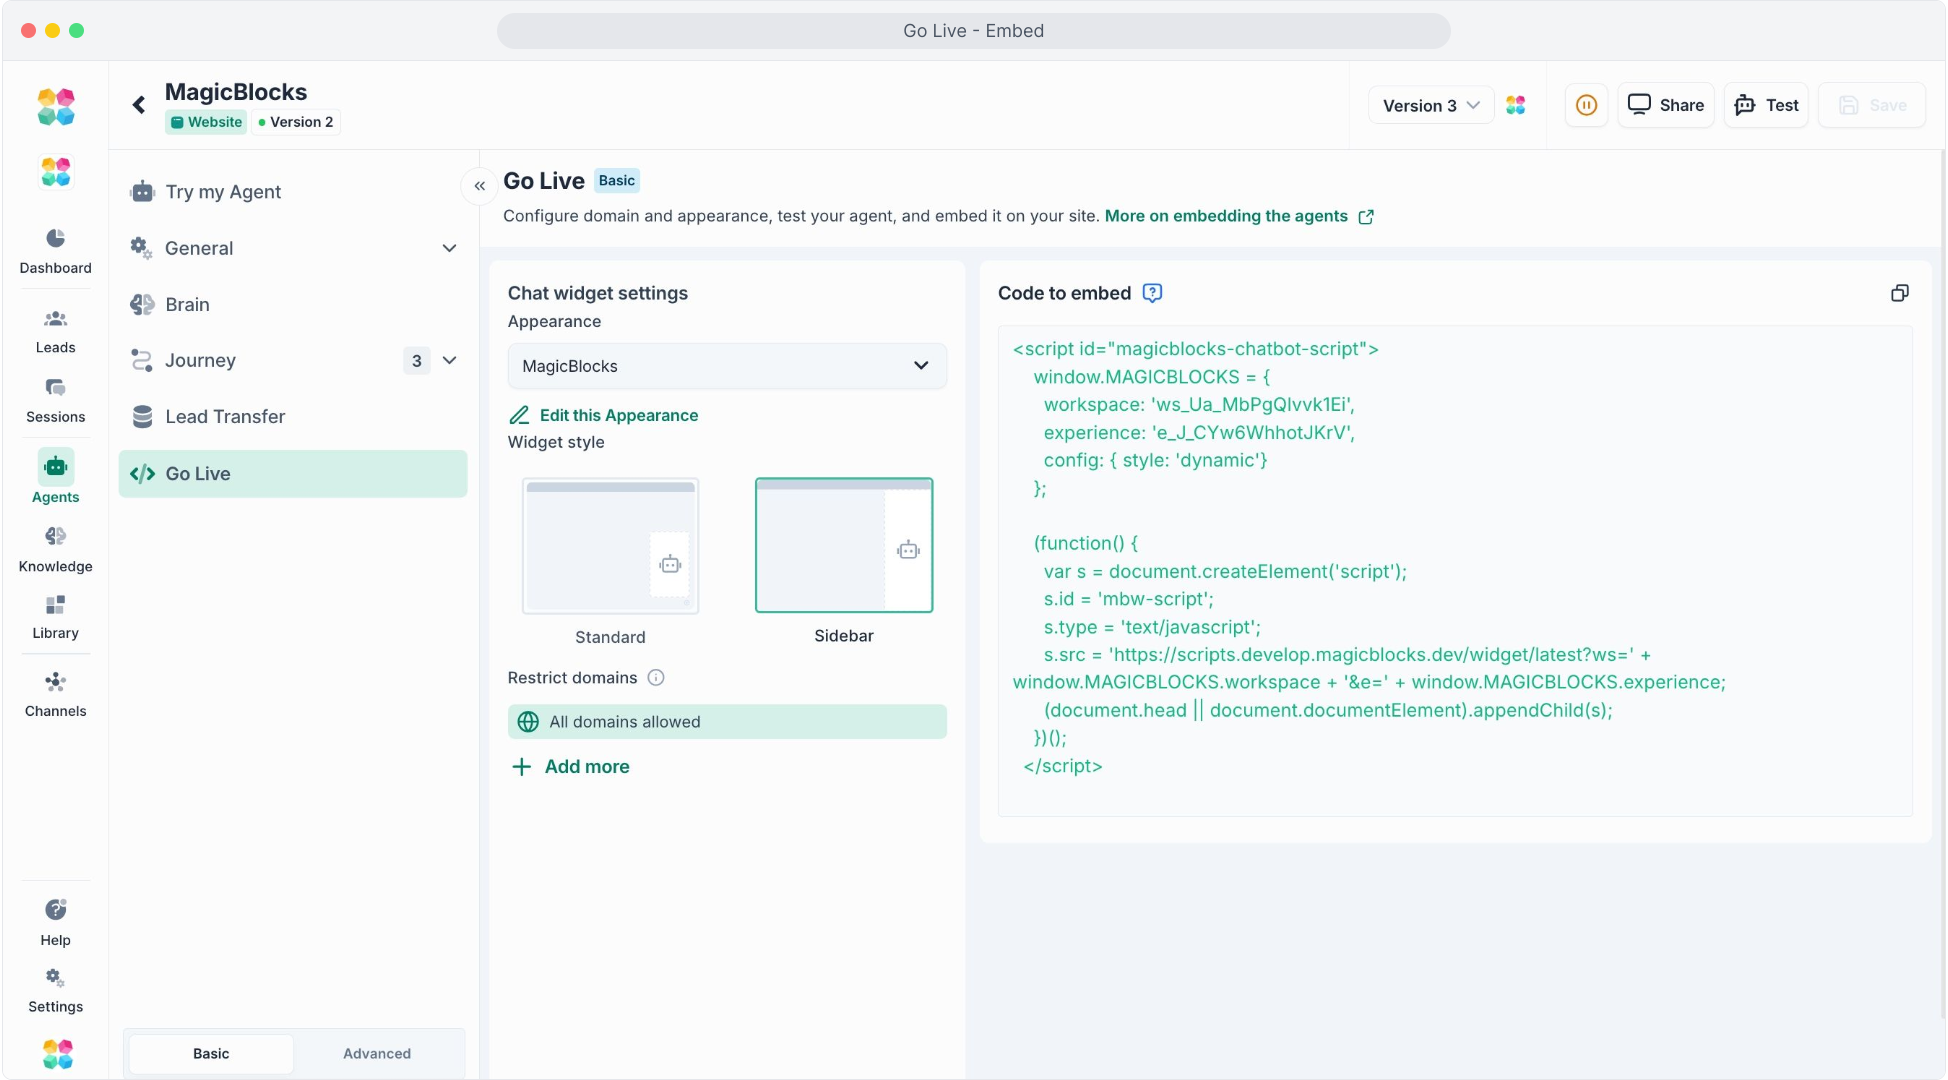
Choose whether you want a standard (small popup on right-hand side of an end user's) or a sidebar (whole right-hand side of the screen) for your agent.
Add the website URLs you'd like the AI Agent displayed on. You can add as many as you like. Make sure you add individual pages of a website rather than just the home page if you want the bot displayed on multiple pages
6. Click here to copy code to embed the AI Agent to your website.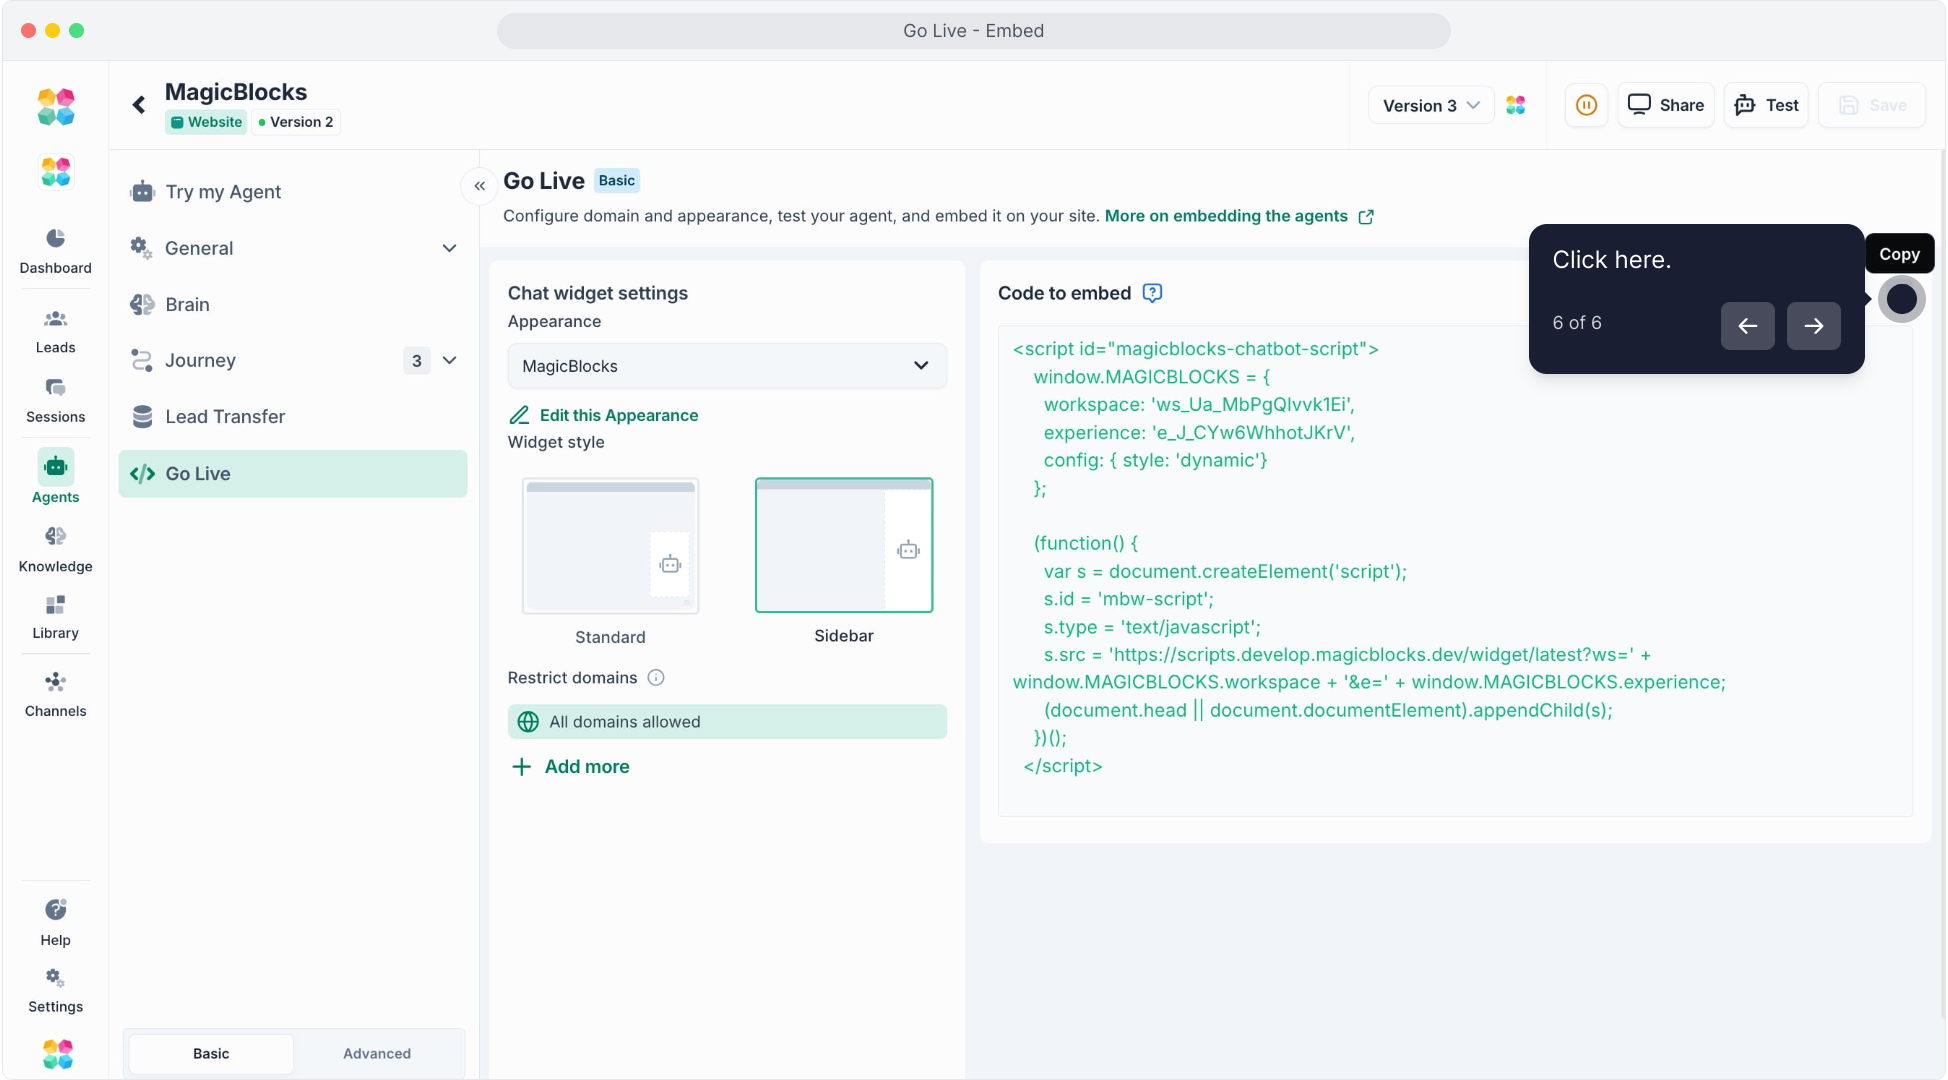
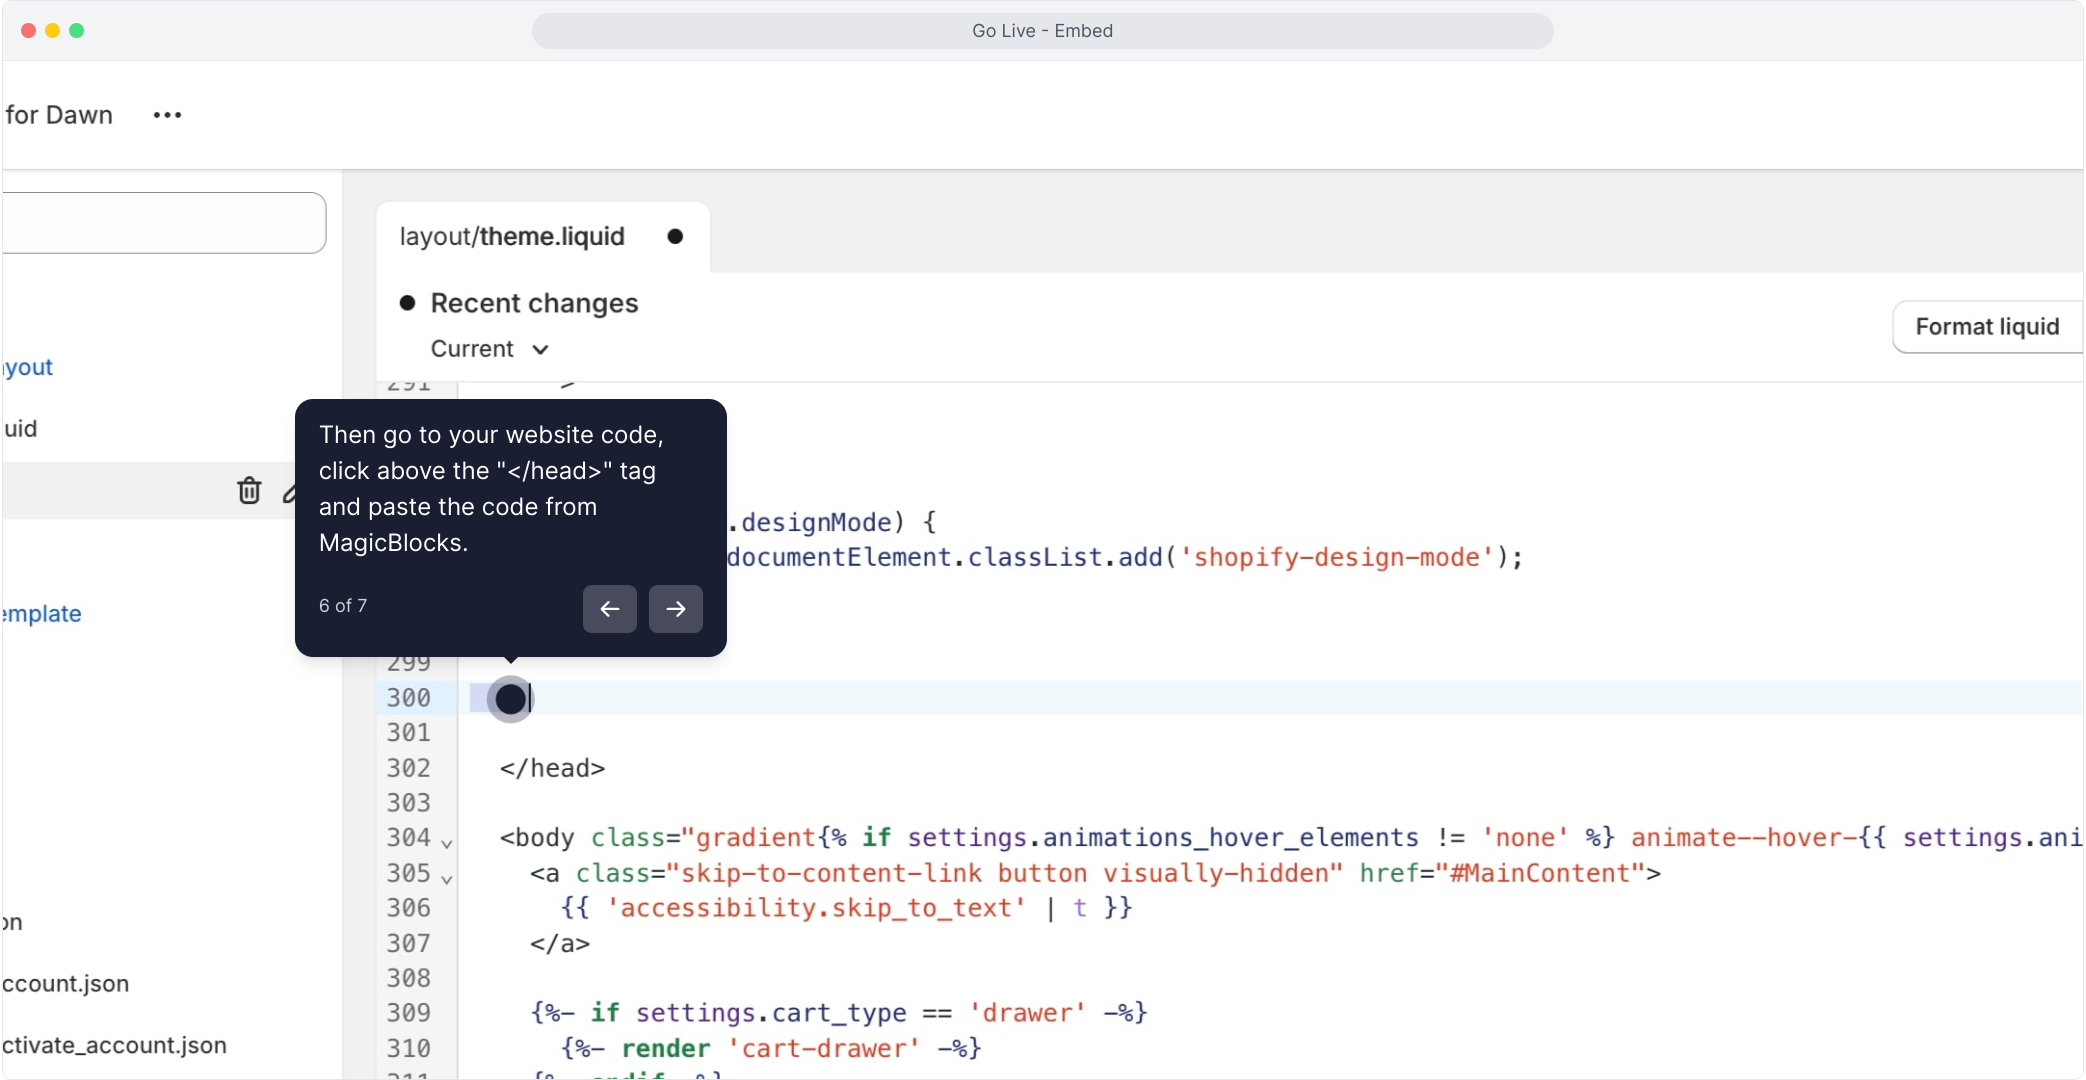
6. Go to your website builder platform (e.g. Wordpress, Wix, or Squarespace) and access the HTML code or open your website HTML files.
Find the spot in the code where you want to put the chatbot code. It's typically placed in the footer (so it appears on all pages), or just before the closing </head> tag.
7. Click on "Save" and now your AI Agent is live on your website.
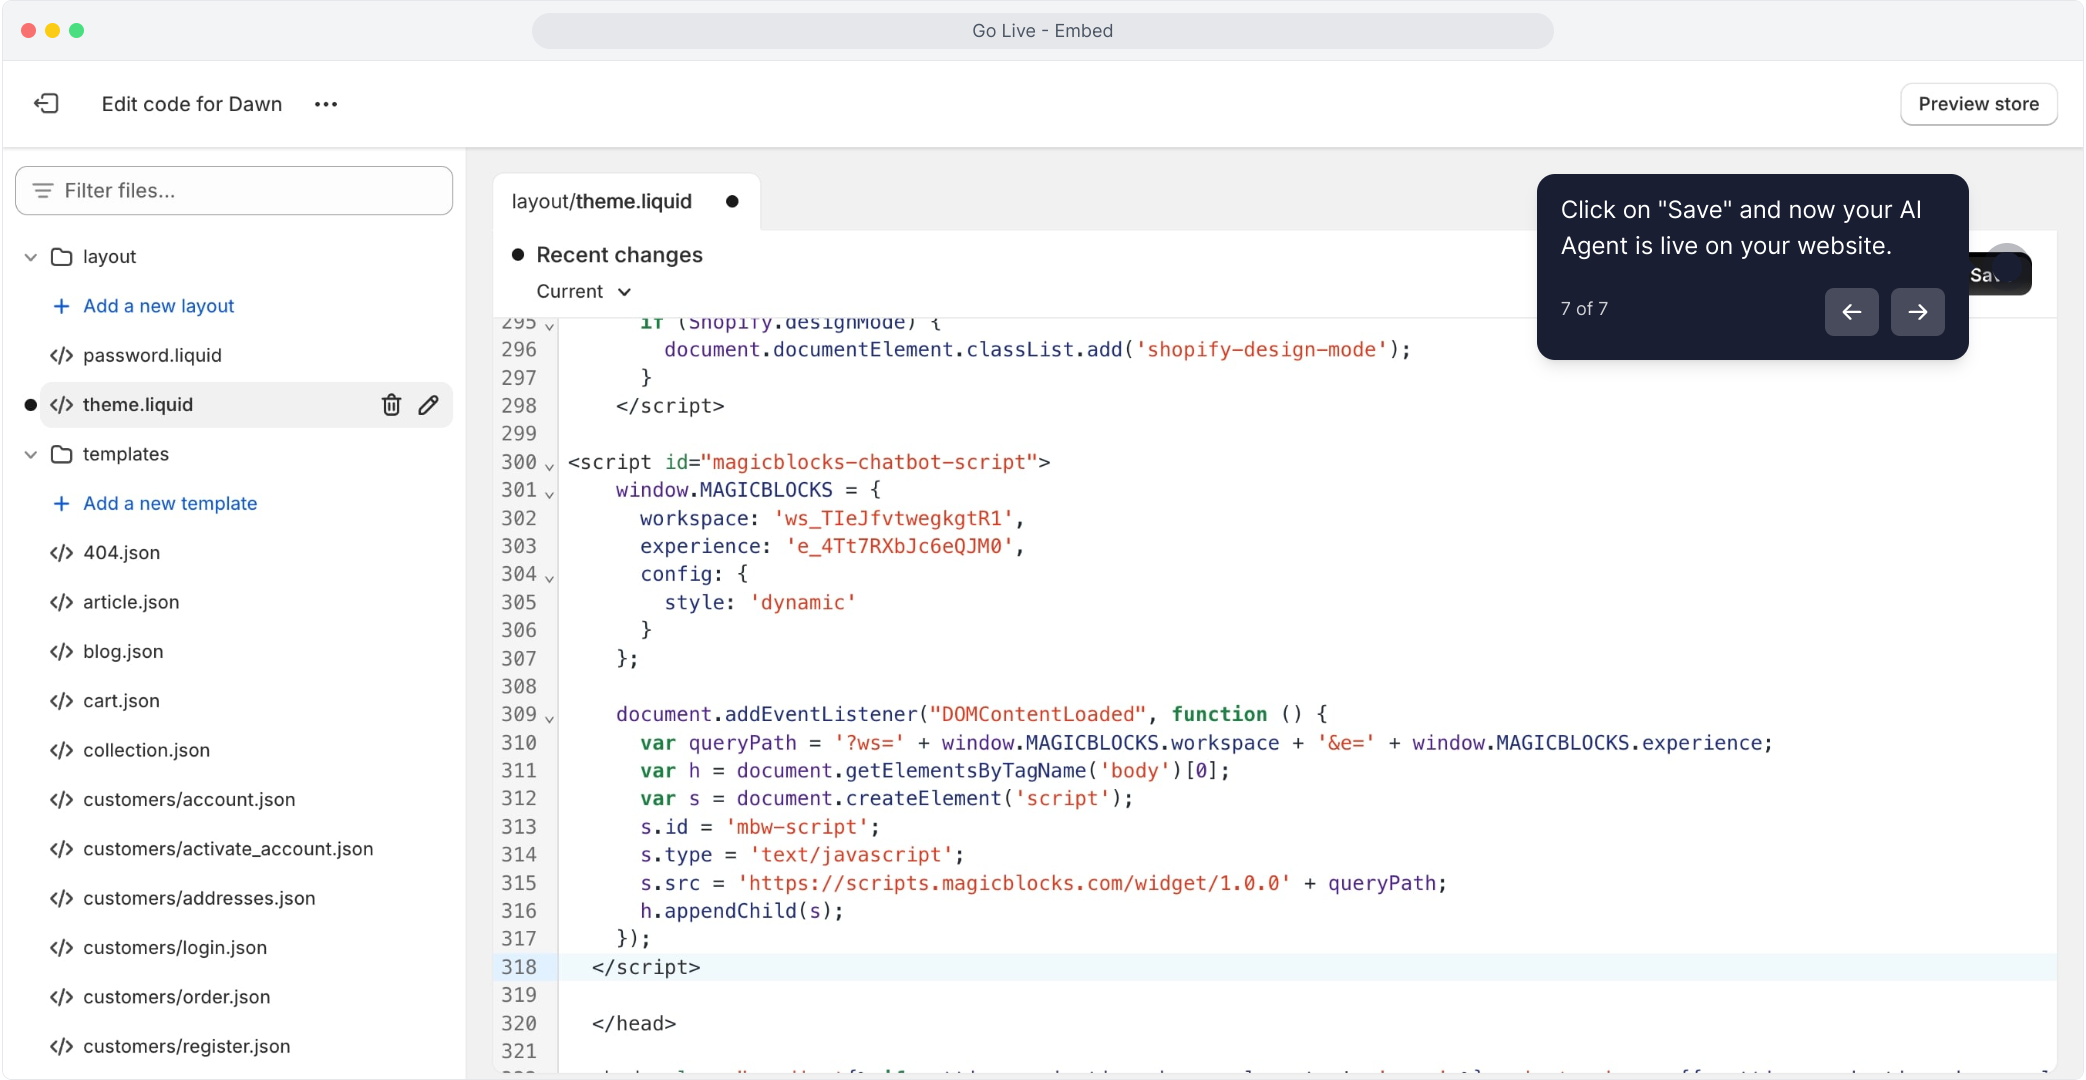
All done! Visit your site and interact with your AI Agent to confirm everything’s working perfectly.
Watch the video tutorial here:
Related Articles
Are you using a specific website builder platform? Check our tutorials to go live here:
- Embed Your AI Agent on Your Wix Website
- Embed Your AI Agent on Your WordPress Website
- Embed Your AI Agent on Squarespace
- Embed Your AI Agent on Shopify
- Embed Your AI Agent on Webflow
- Embed Your AI Agent with Google Tag Manager