
Robot Head Icon
Refining your AI agent's performance is essential for ensuring seamless user interactions. The Robot Head icon in MagicBlocks’ Conversation Sessions provides valuable insights into how your AI is functioning, enabling you to troubleshoot issues and optimize its behavior. Follow this step-by-step guide to make the most of this powerful feature.
Step 1: Navigate to Conversation Sessions
Log in to MagicBlocks.
Go to the Sessions section from the dashboard menu.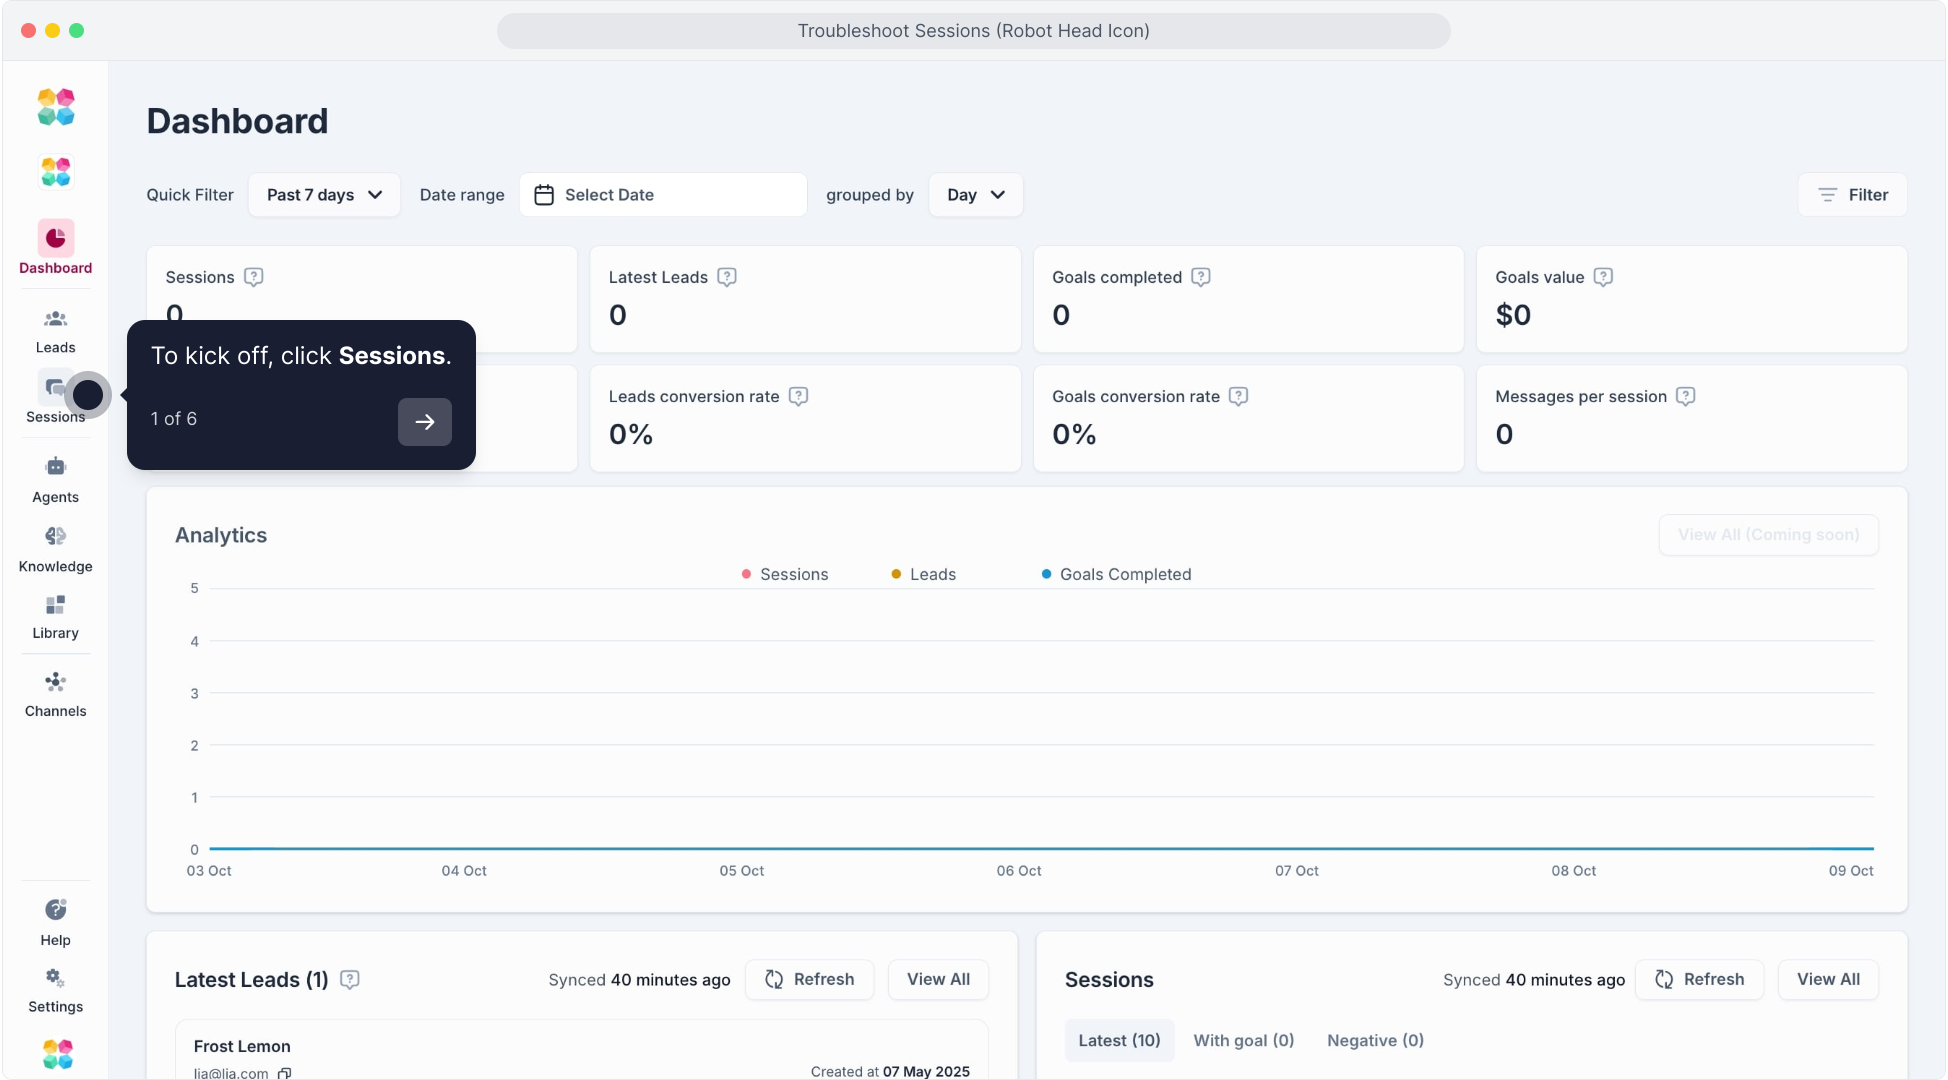
Here, you’ll find a list of all recent interactions your AI agent has had with users.
Select a session that you want to analyze by clicking on it.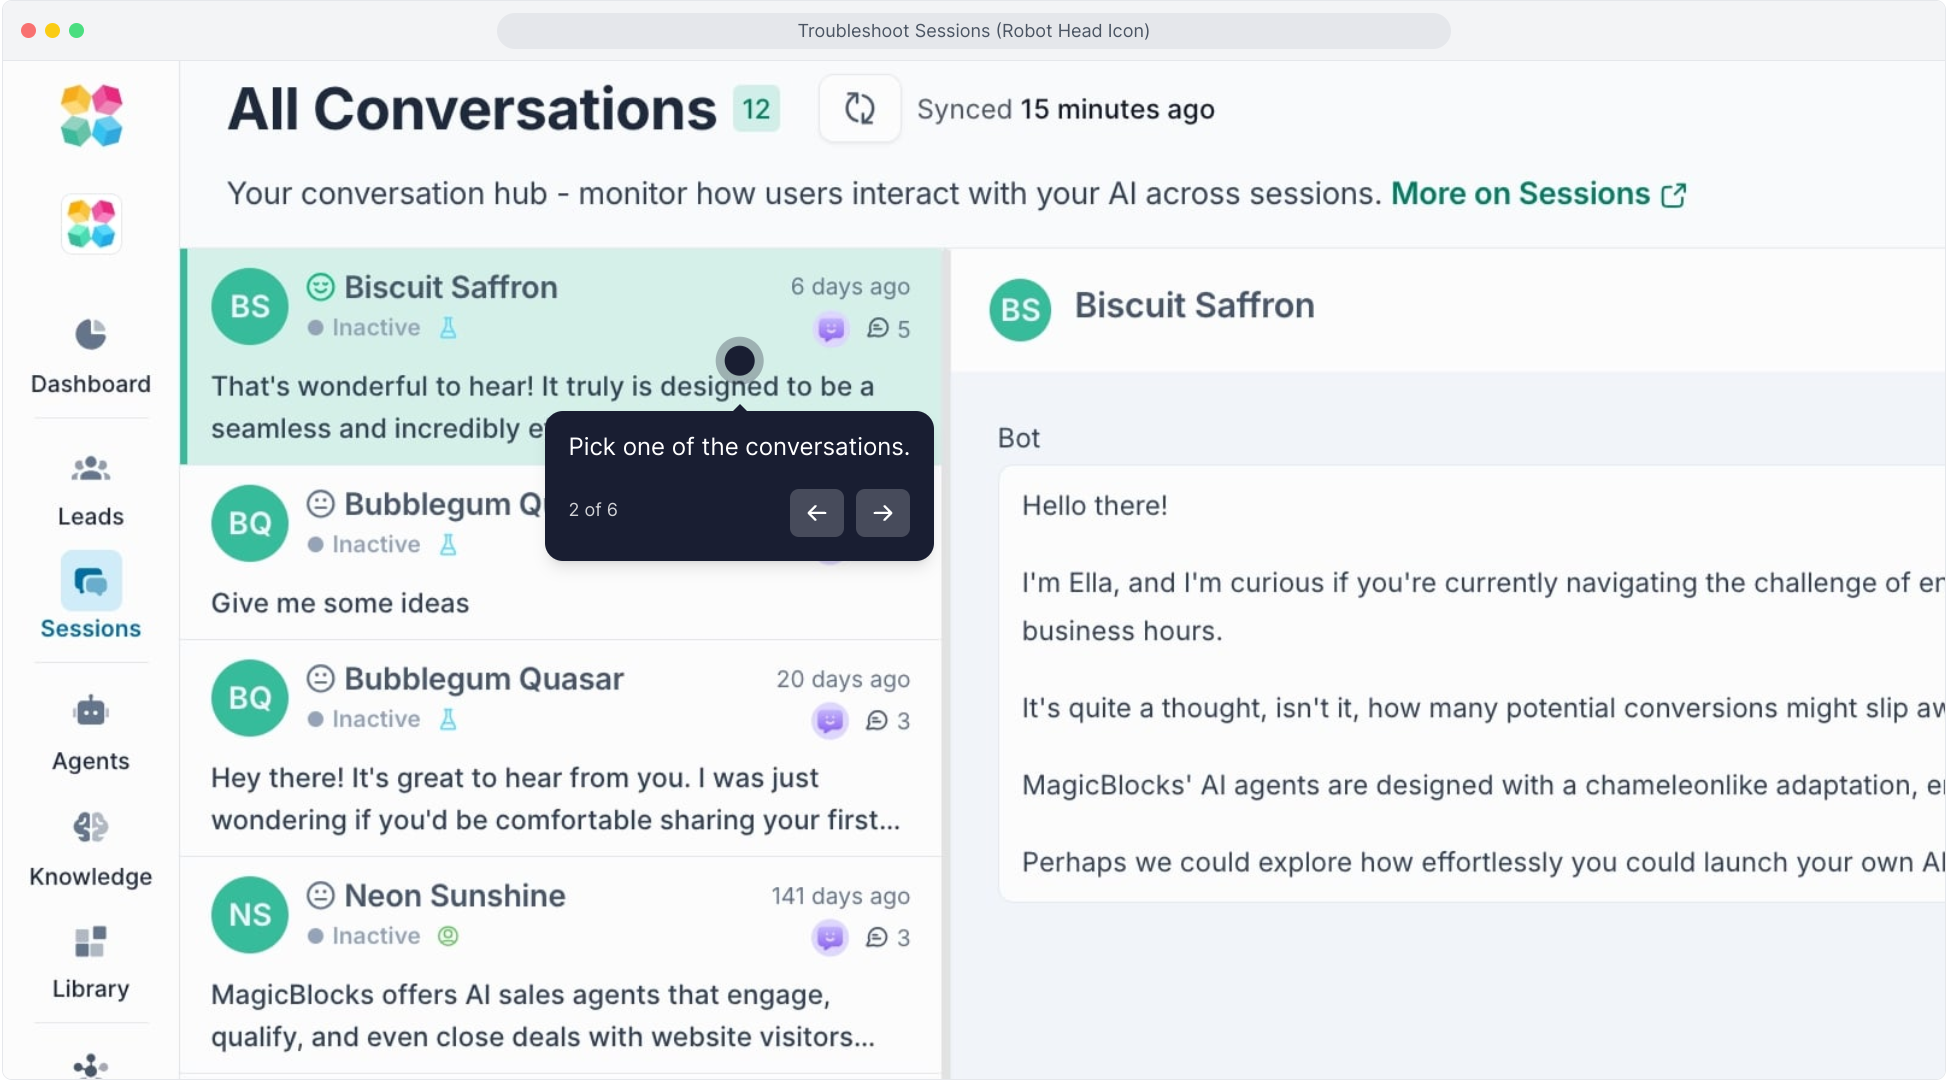
Step 2: Click the Robot Head Icon
Once inside the selected session, locate the Robot Head Icon on the top right of the conversation interface.
Click the icon to open the AI’s interaction summary and underlying logic.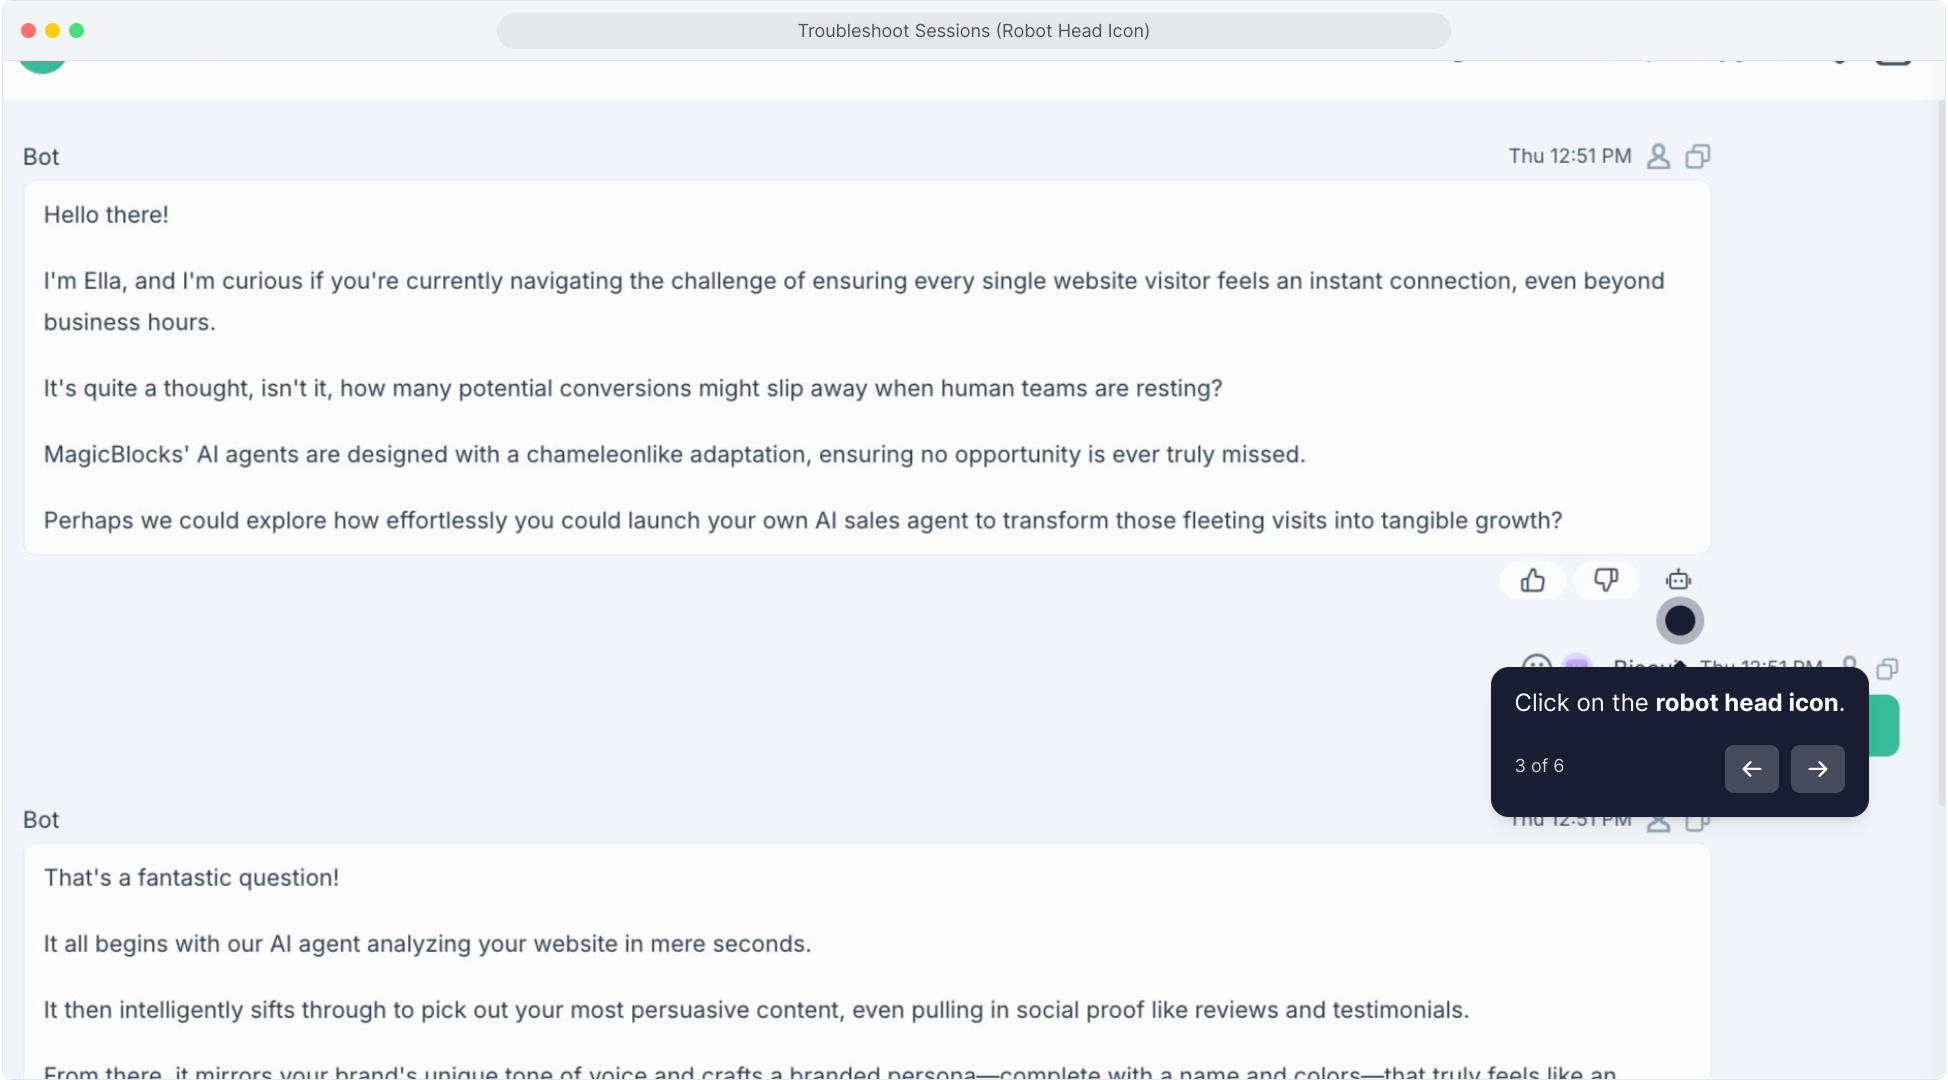
This section reveals:
- Actions Triggered: See what the AI has done (e.g., sent a message, switched blocks, triggered a form).
- Active Journey Blocks: View which Journey Block or flow the AI is currently operating in.
- Actions: Understand which specific conditions or rules triggered the AI’s responses.
- Key Facts & Memories: Check what information the AI has captured from the user during the session.
Step 3: Troubleshoot AI Behavior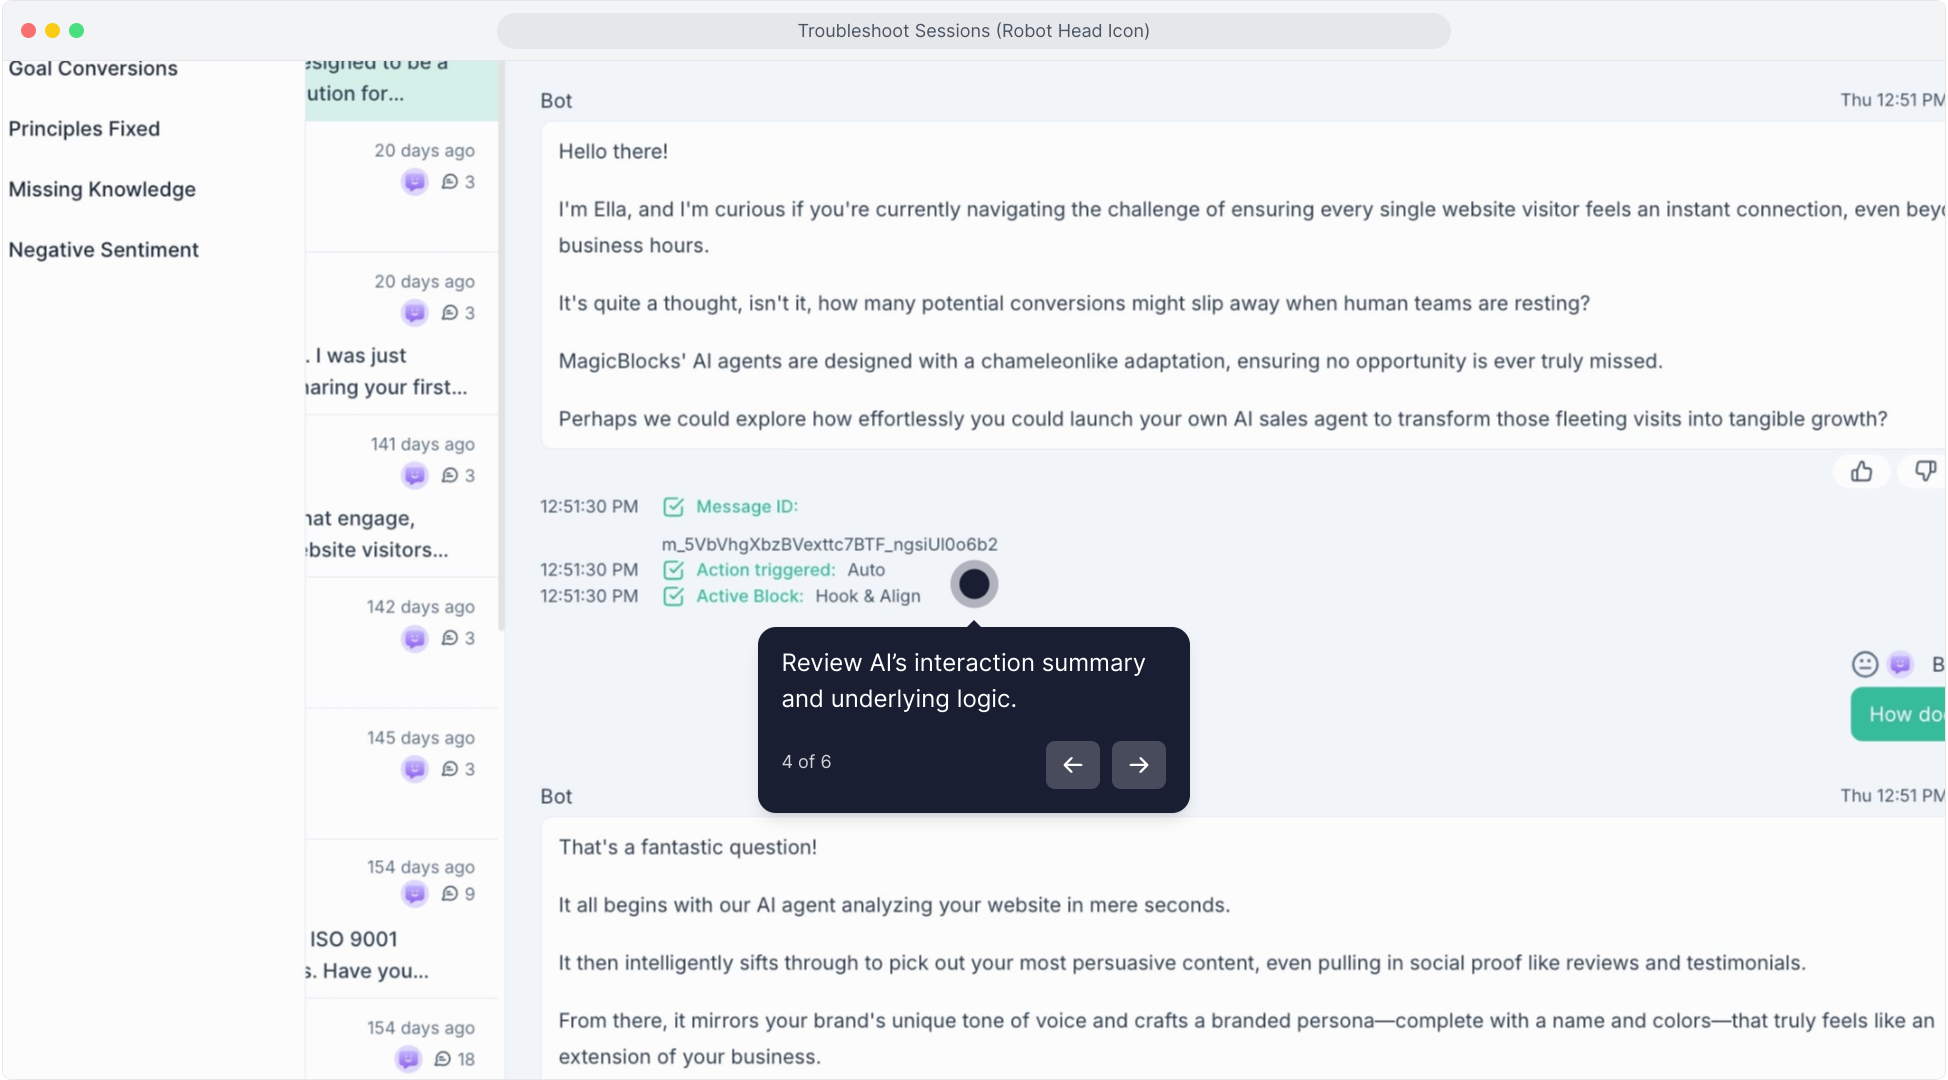
Identify Gaps in AI Logic
Look for signs that the AI isn’t behaving as intended. Common issues include:
- Inappropriate Responses: Review the responses generated by the AI. Are they relevant to the user’s input?
- Untriggered Actions: Check if expected actions (like switching blocks or sending a message) failed to activate.
- Key Fact Errors: Confirm whether the AI successfully captured the correct data from the user.
Pinpoint Why Issues Occurred
For each issue, trace back through the Directors and Active Blocks sections to understand:
- Which condition wasn’t met (e.g., missing a key fact).
- Where the AI got stuck in the conversation flow.
- What’s missing from the AI’s training or configuration.
Click here to watch the tutorial video:
Below is a quick tour to show you how to refine your AI Agent through “Test Agent”:
Step 4: Refine AI Behavior
Edit Conditions in Directors
If a condition wasn’t triggered as expected:
- Go to Agents > [Your Agent’s Name].
- Open the relevant Journey Blocks and review the Actions.
- Add or adjust conditions (e.g., ensure the AI captures all necessary key facts before proceeding to the next block).
- Enhance Knowledge and Training
If the AI responded incorrectly:
Add or update relevant knowledge in the Knowledge Base.
Use clear examples to train the AI on expected responses for similar queries. - Test New Changes
Simulate user interactions to verify the updated behavior.
Repeat the troubleshooting process as needed to refine further.
Step 5: Leverage Key Insights
- Analyze Patterns
- Use multiple session reviews to identify recurring issues.
- If the AI responded incorrectly:
For example:
Do users often get stuck in a specific block?
Is the AI missing common key facts? - Optimize for Performance
- Streamline conversation flows by reducing unnecessary steps.
- Improve the AI’s speed to contact by prioritizing frequently used actions.
Step 6: Continuous Improvement
Refining AI is an iterative process. Schedule regular reviews of conversation sessions, and don’t hesitate to test new approaches. The Robot Head icon makes it easy to monitor, learn, and optimize—ensuring your AI always performs at its best.
By mastering the Robot Head icon’s insights, you’ll be equipped to troubleshoot and refine your AI agent for exceptional performance.