Integrate with HubSpot CRM
Want your leads to flow straight from your AI Agent into your CRM without lifting a finger?
This step-by-step tutorial shows you how to connect your MagicBlocks AI Agent to HubSpot, so you can automatically:
Capture leads 24/7
Create and assign deals
Sync key data fields
Keep your pipeline full and clean
From chat to CRM in seconds. No manual work. No missed follow-ups.
🧠 Why Integrate with HubSpot?
MagicBlocks AI Agents work around the clock. But if you're still relying on spreadsheets or manual exports, you’re bottlenecking your sales.
With HubSpot CRM integration, you can:
✅ Auto-deliver qualified leads from every session
✅ Instantly create deals in the right pipeline
✅ Map custom fields for full contact records
✅ Focus your human reps on closing, while AI handles the heavy lifting
🛠 Step-by-Step: Connect HubSpot to MagicBlocks
1. Open Your AI Agent
Log in to MagicBlocks
Go to Agents
Select the Agent you want to sync with HubSpot
2. Navigate to your AI Agent > Lead Transfer
Then click the Lead Transfer tab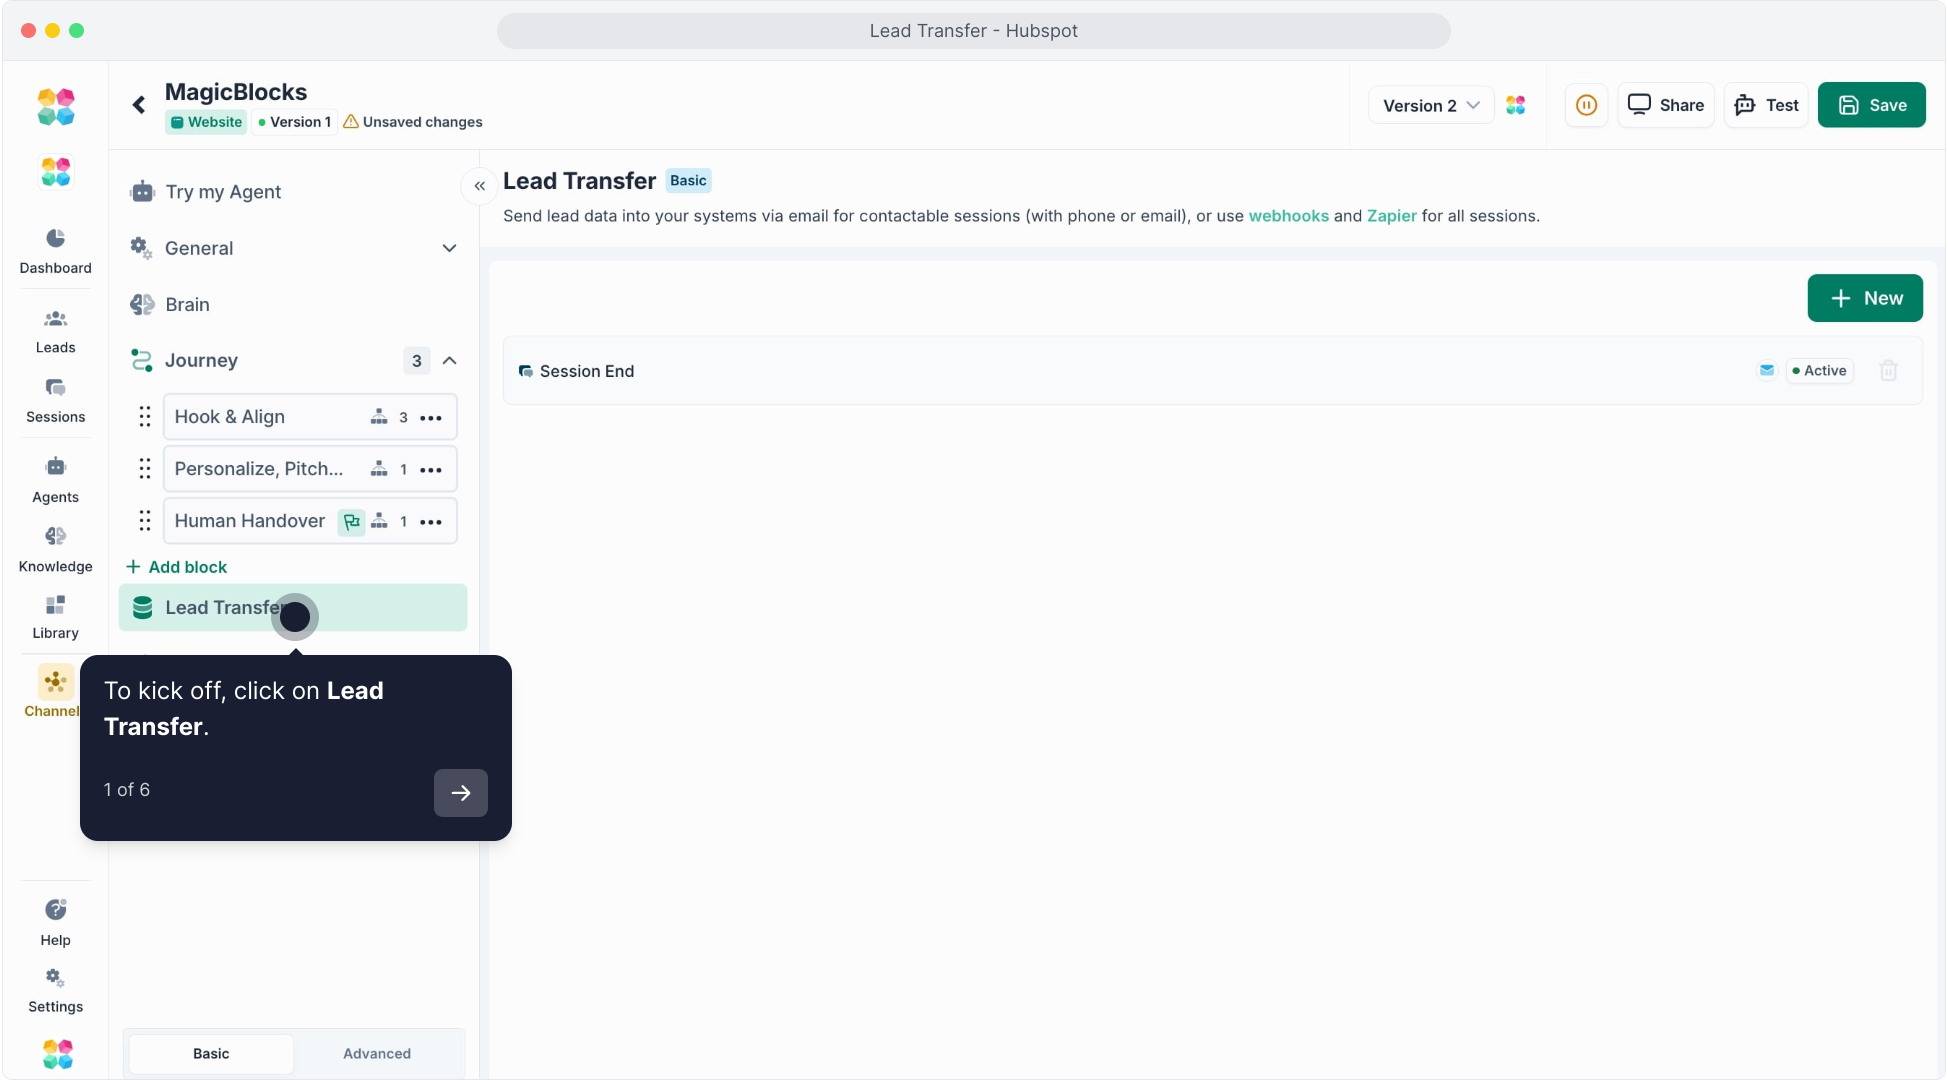
Here you’ll choose how and when to send data from MagicBlocks to HubSpot.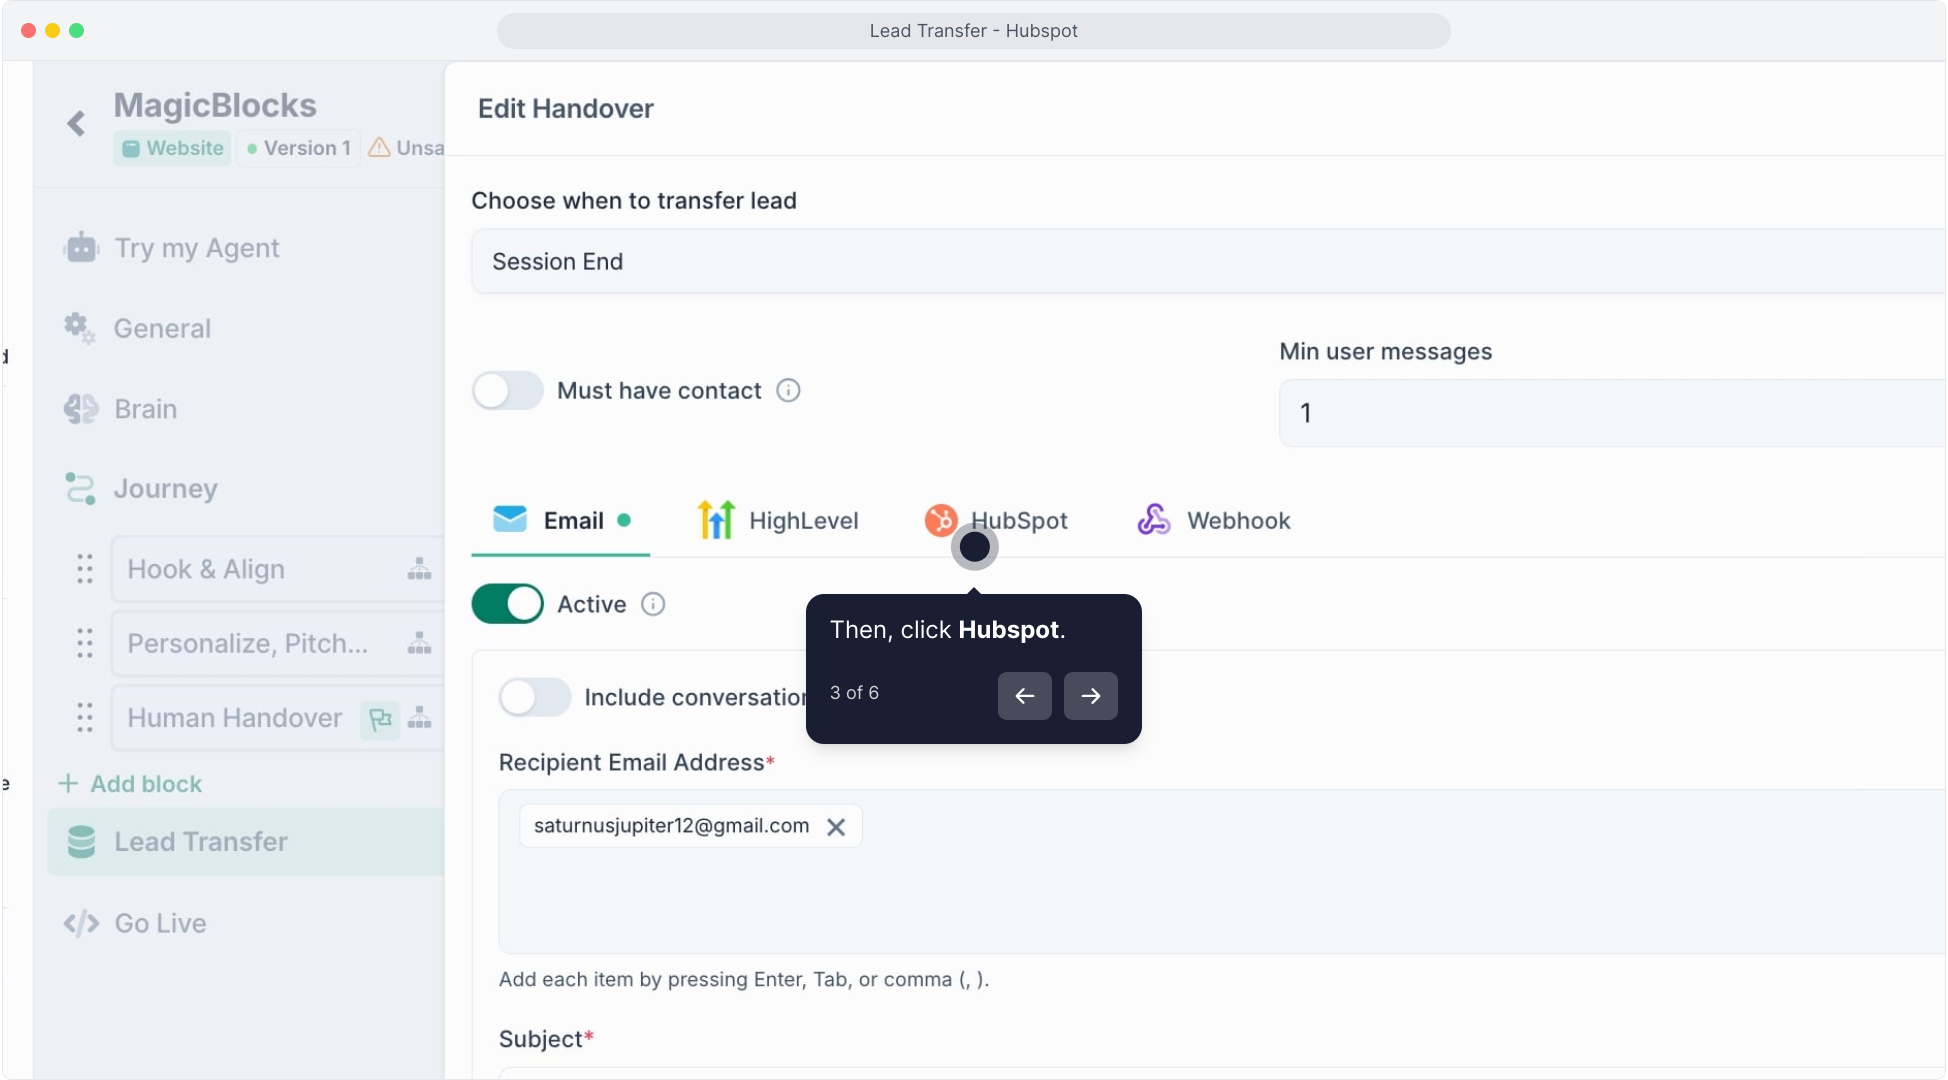
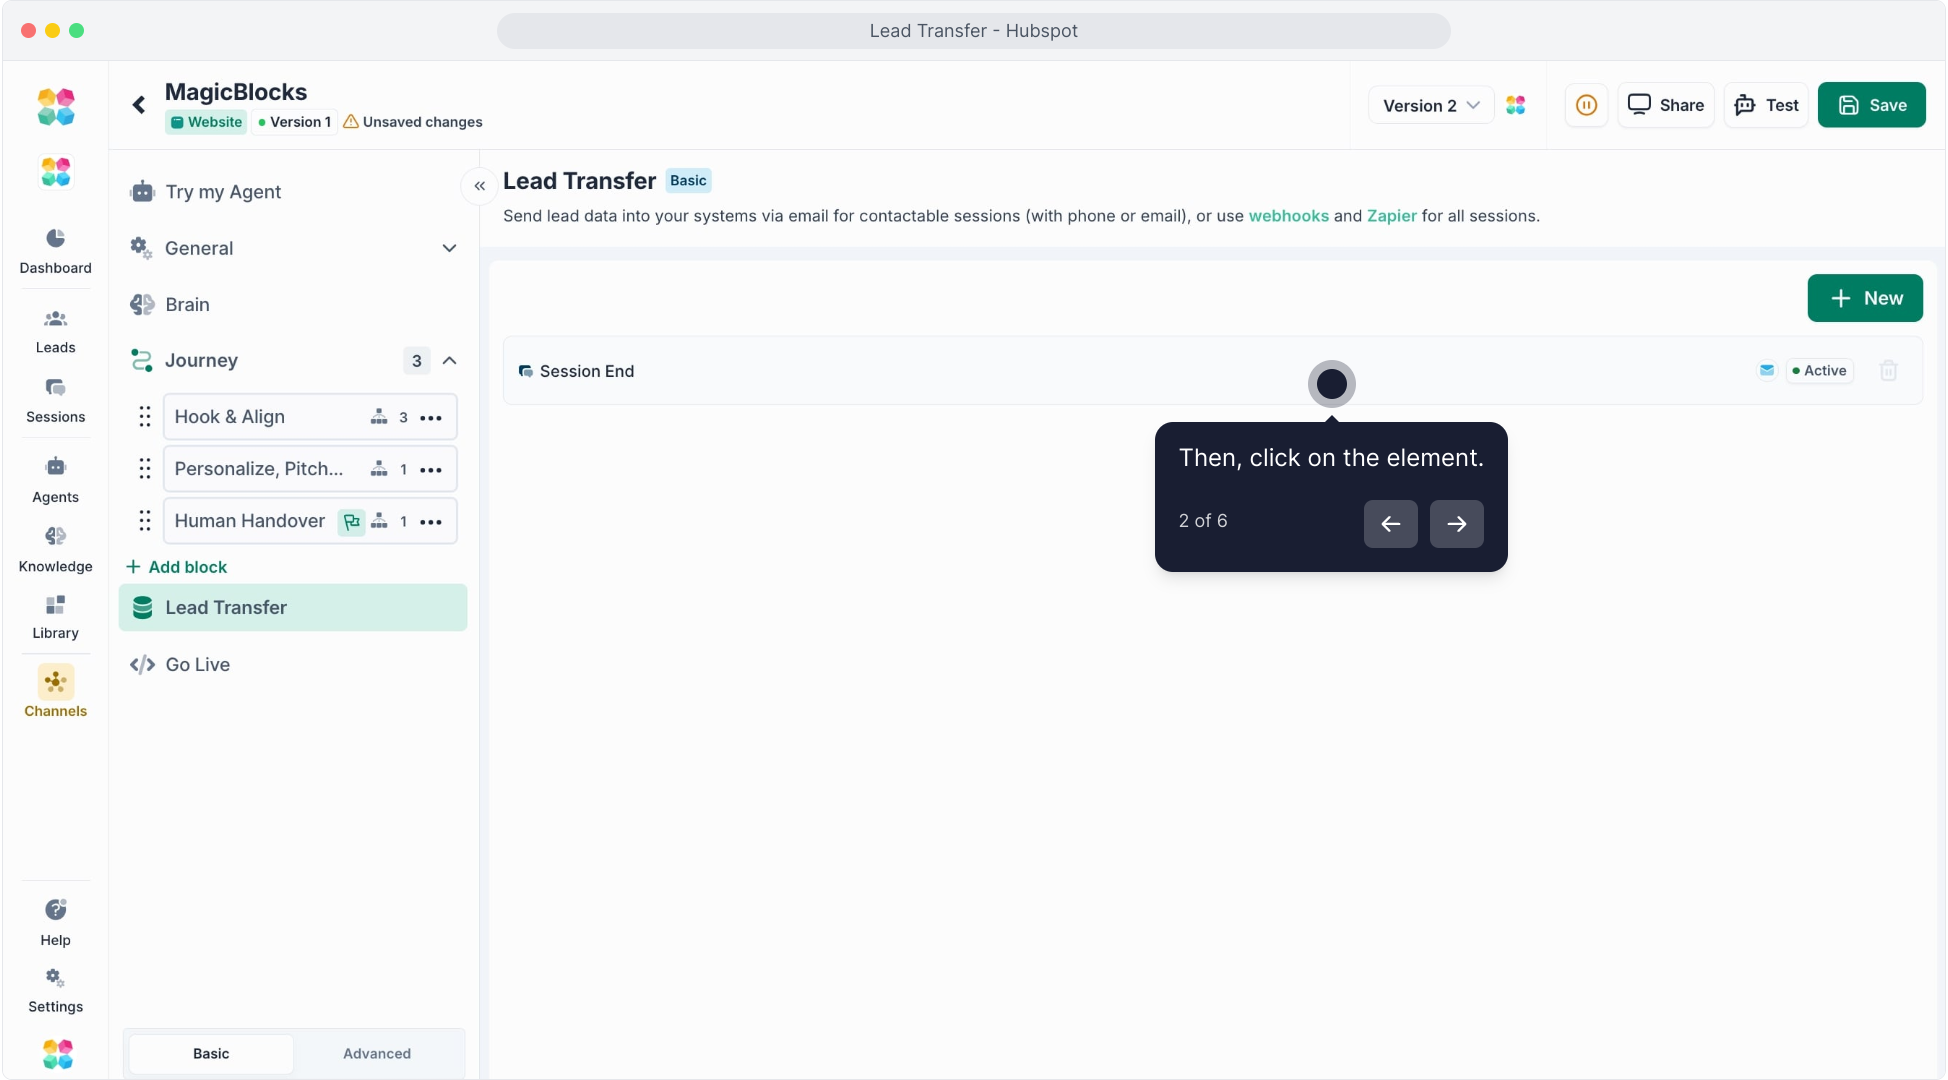
3. Select When to Send the Lead
Under “Select event to send lead”, choose a trigger like:
Session End – send data at the end of every chat
Or a custom goal (e.g., Meeting booked) for more targeted handover
4. Choose HubSpot as Your Delivery Channel
You’ll see four delivery options:
🔁 Webhook | 📧 Email | 📈 HighLevel | 🧡 HubSpot
Click on HubSpot, then:
Hit “Select your account”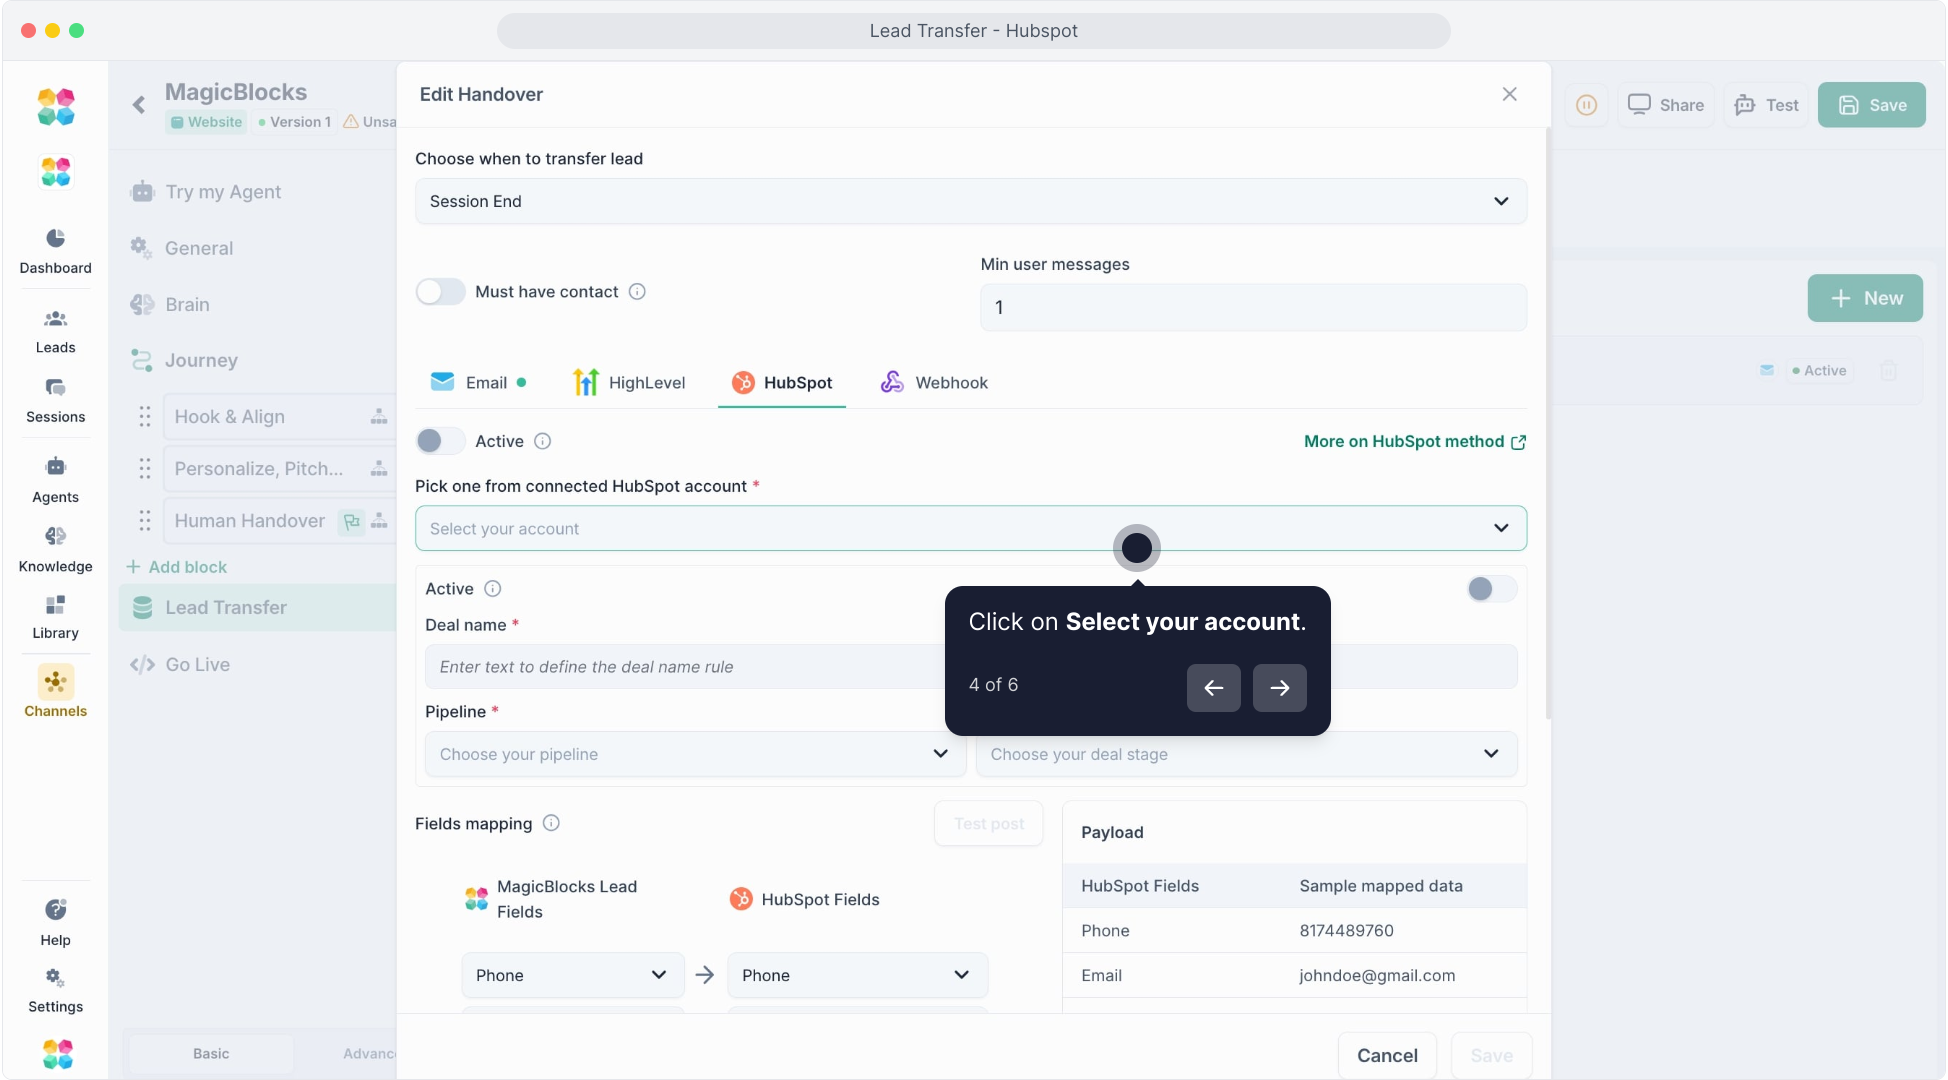
Click “Create your first HubSpot connection” to launch the connection window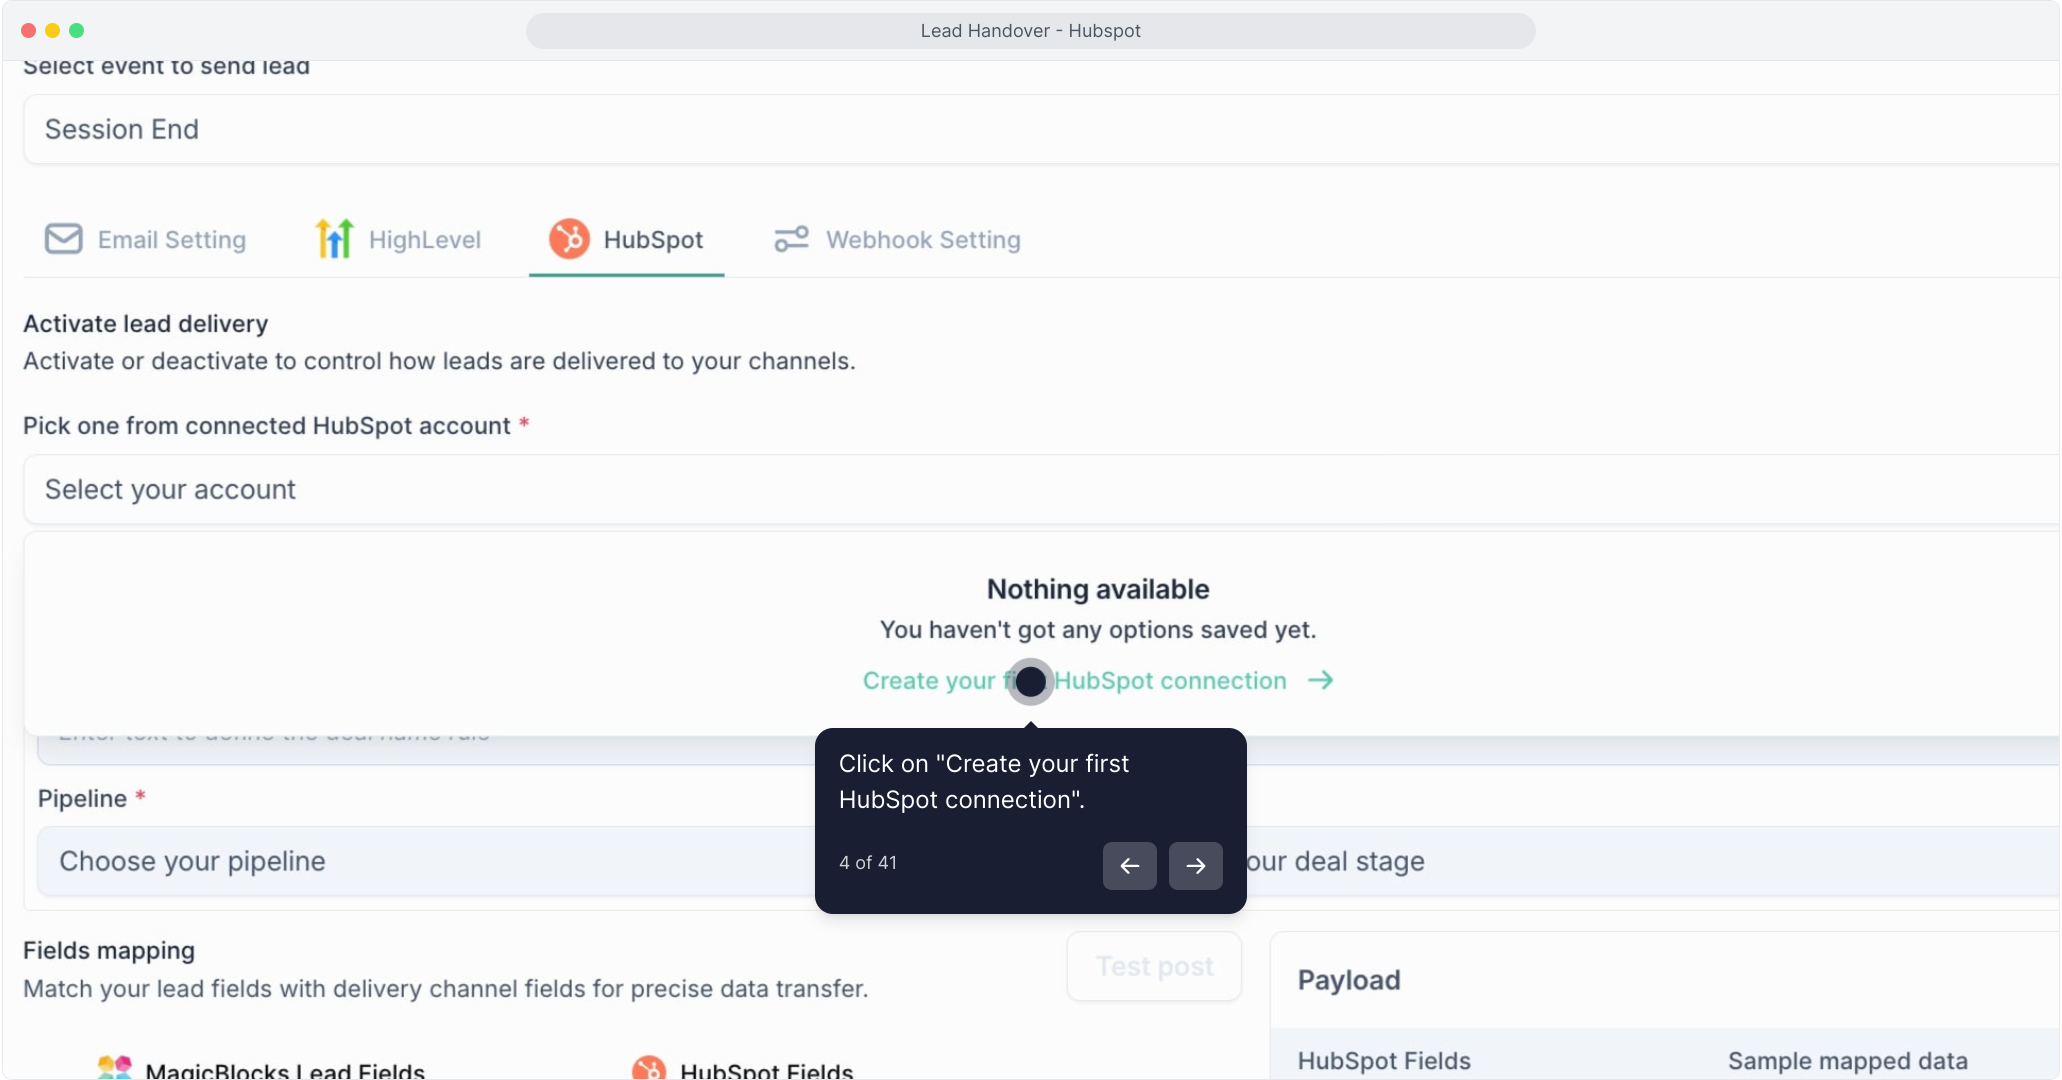
Write down Connection Name for example ‘Magicblocks Hubspot’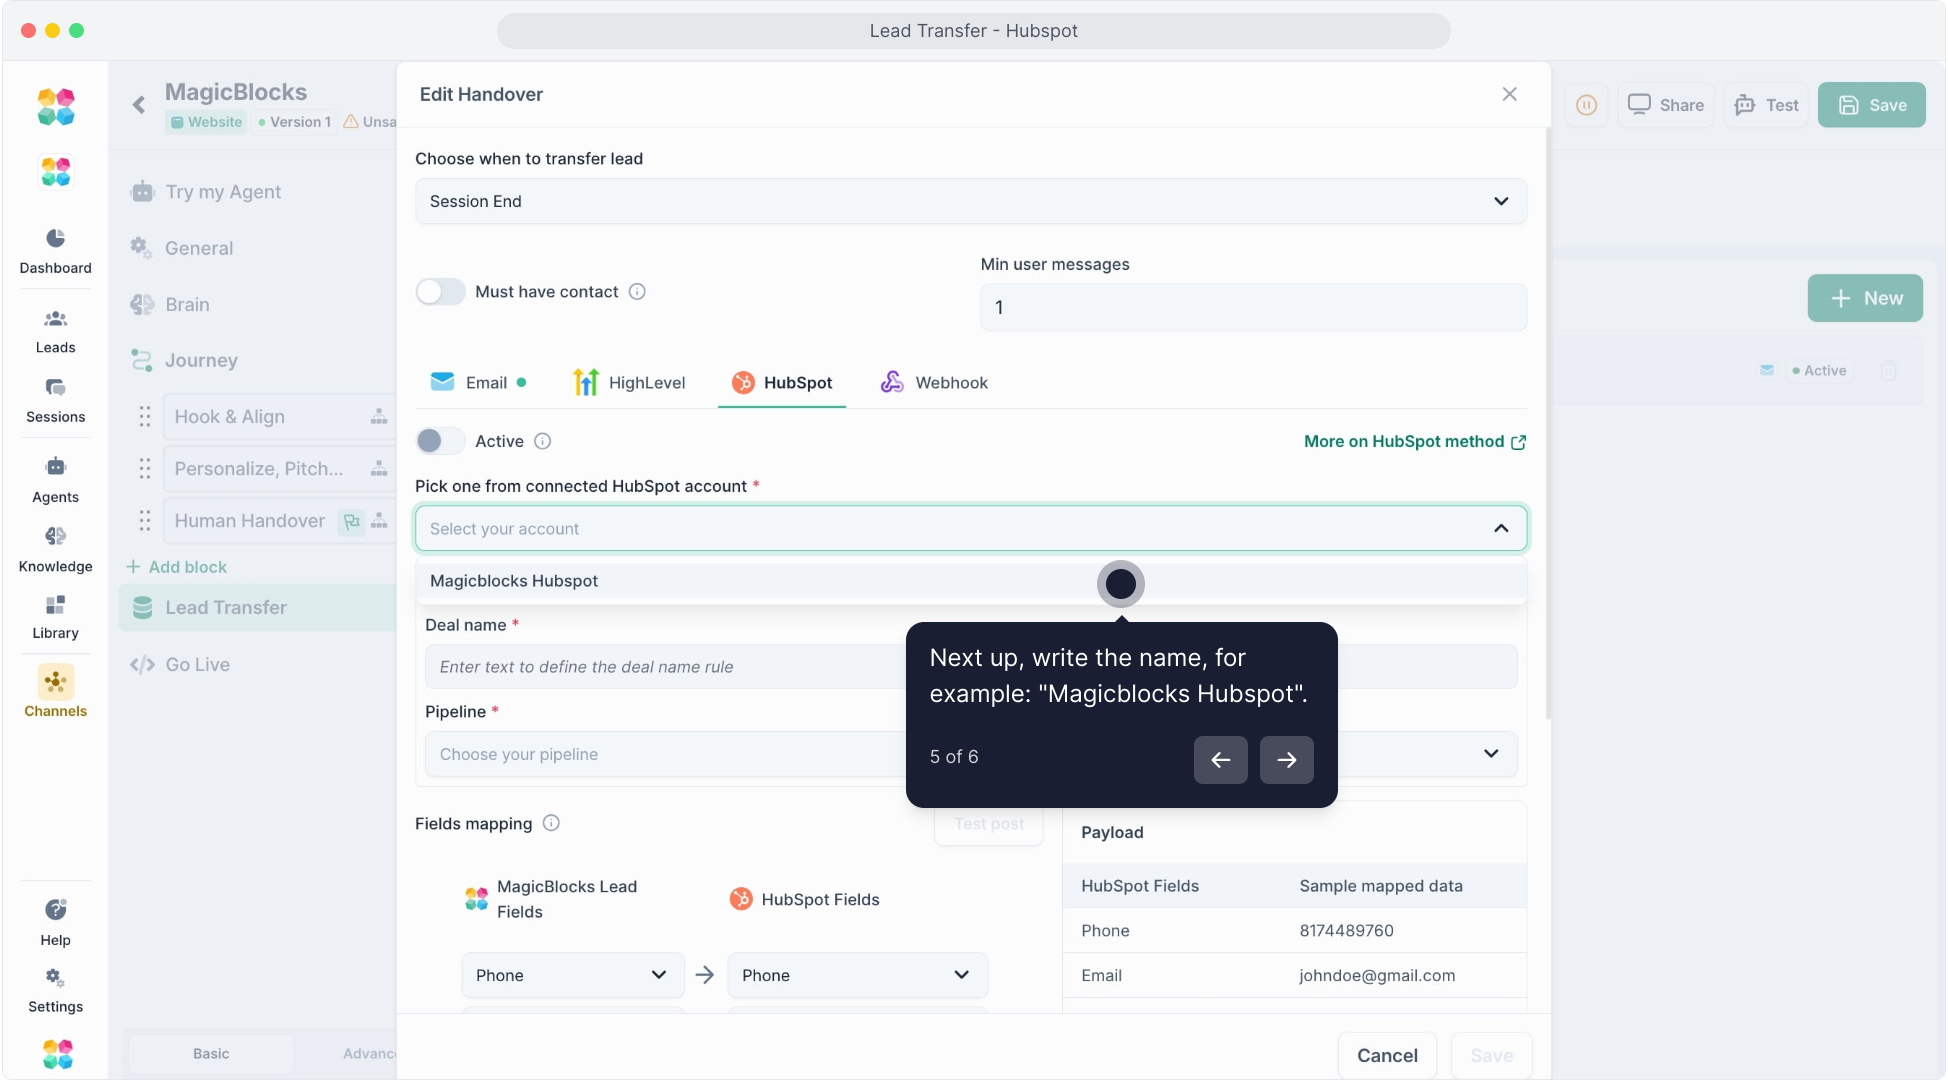
Get your Hubspot Access Token
🎥 This video will explain the step-by-step process on how to integrate Hubspot to your Magicblocks AI Agent:
🔐 How to Get Your HubSpot Access Token
To connect your HubSpot CRM, you need to create a Private App with the right access scopes.
📍 Follow These Steps:
Log into your HubSpot account: app.hubspot.com
Go to ⚙️ Settings (top right corner)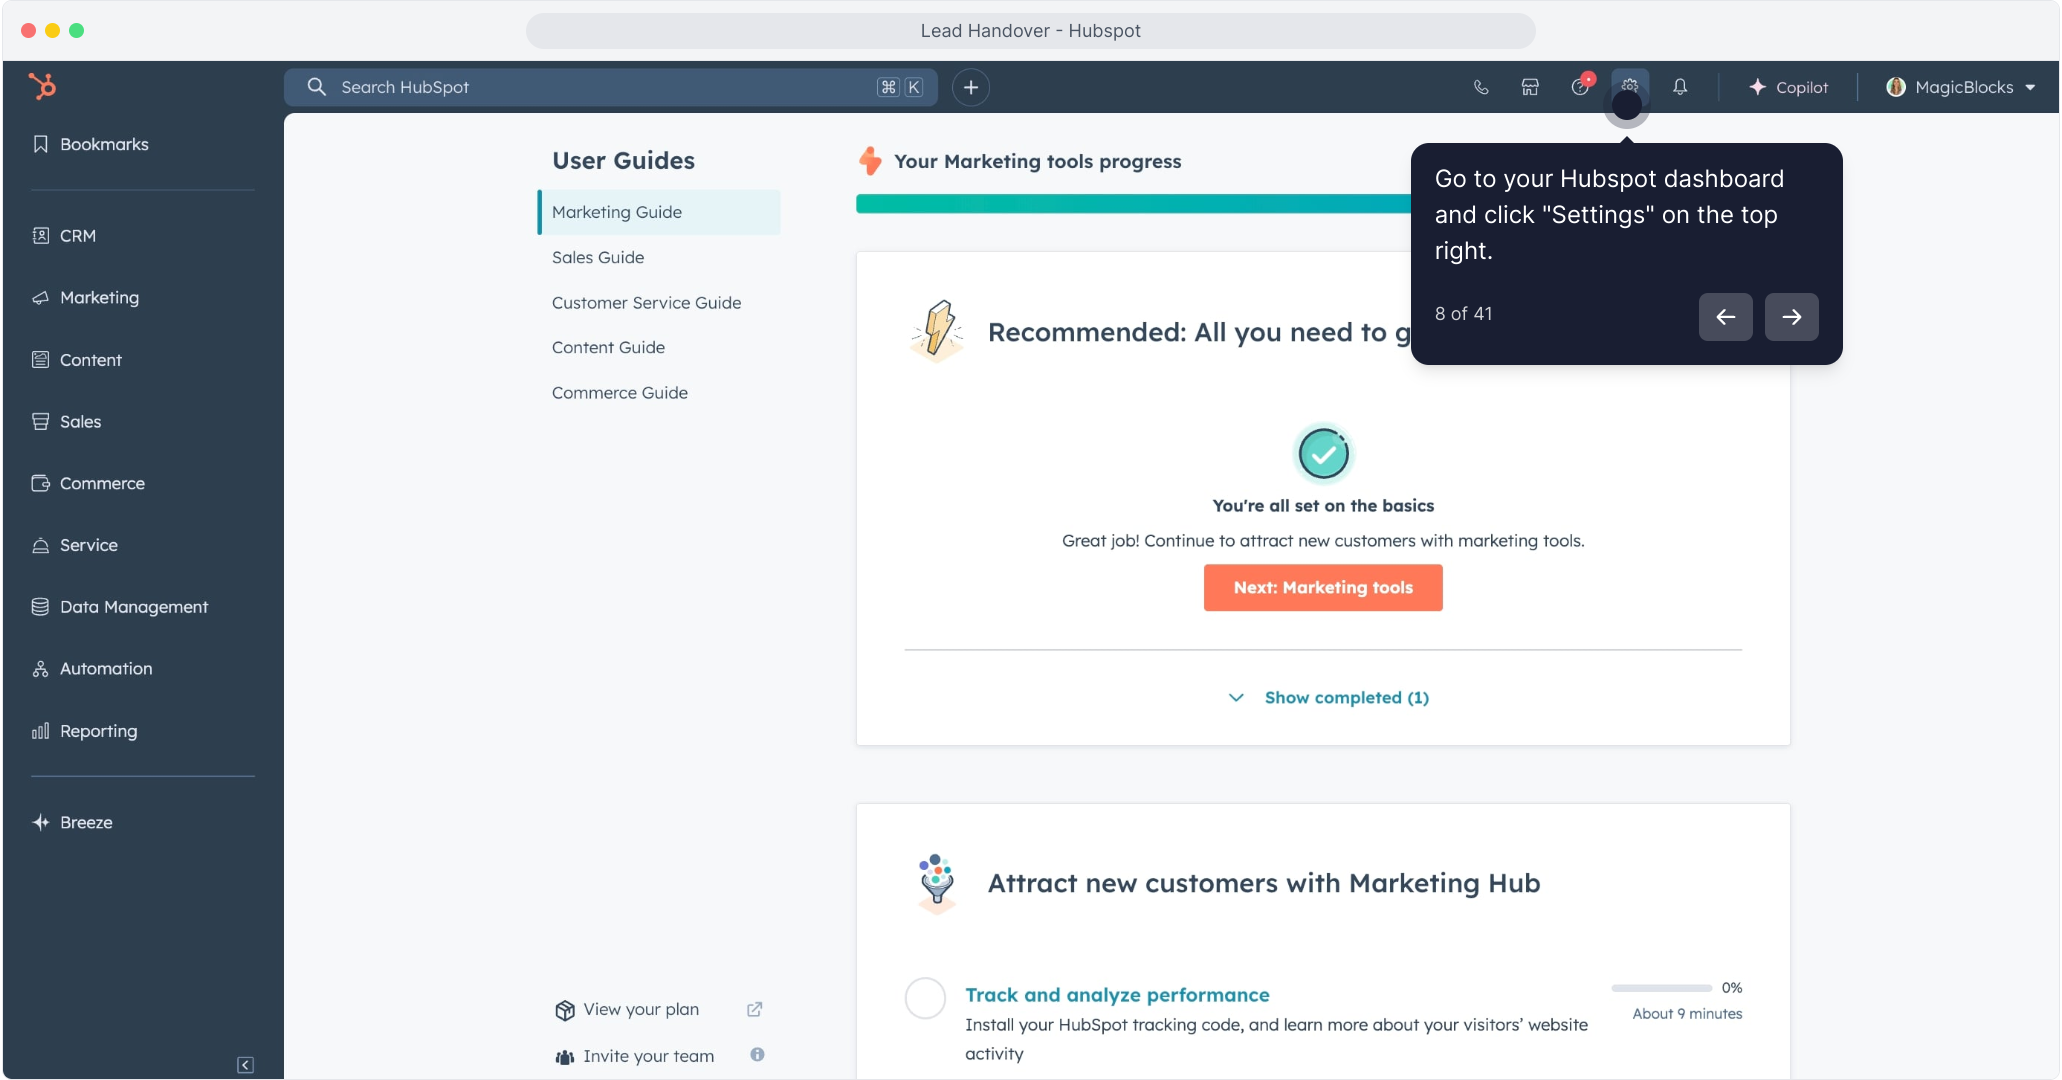
Navigate to:
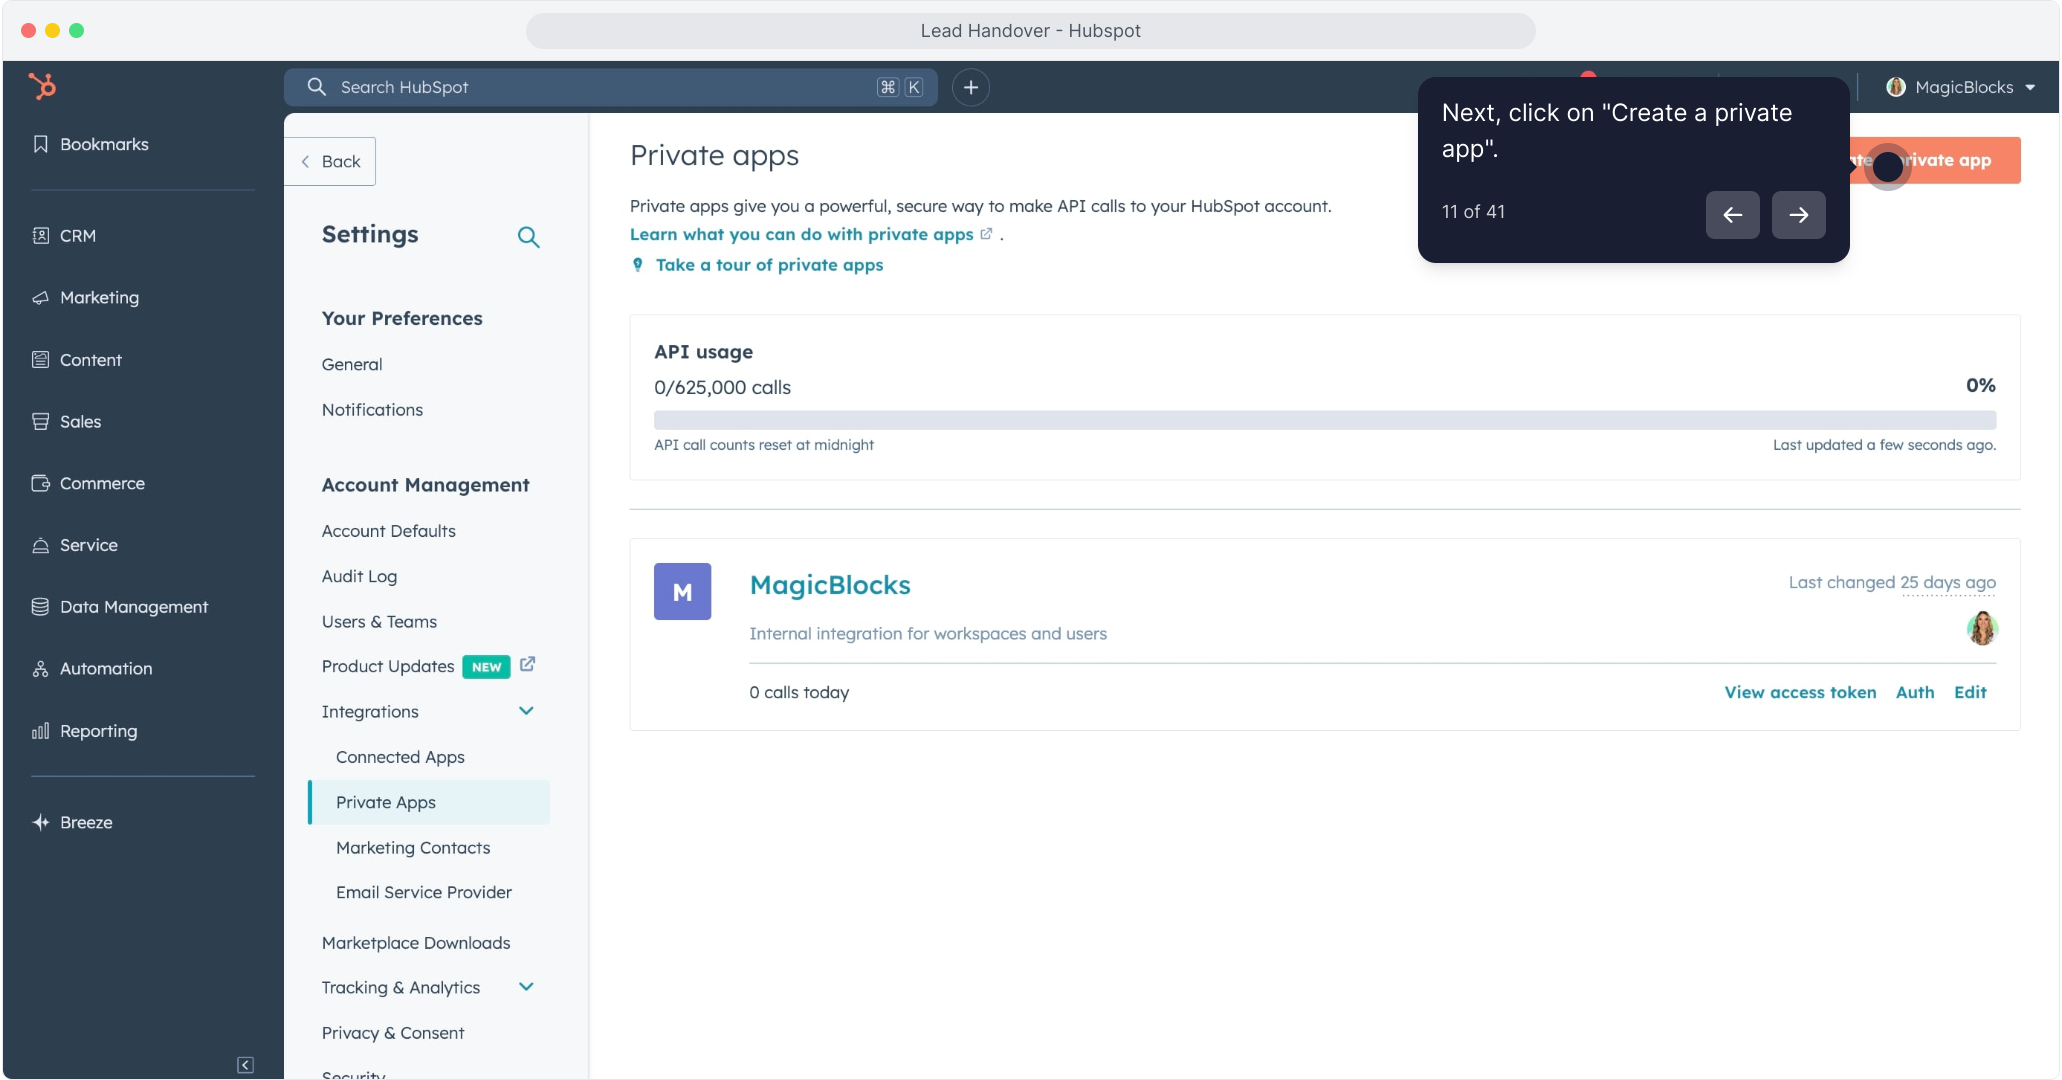
Integrations > Private Apps
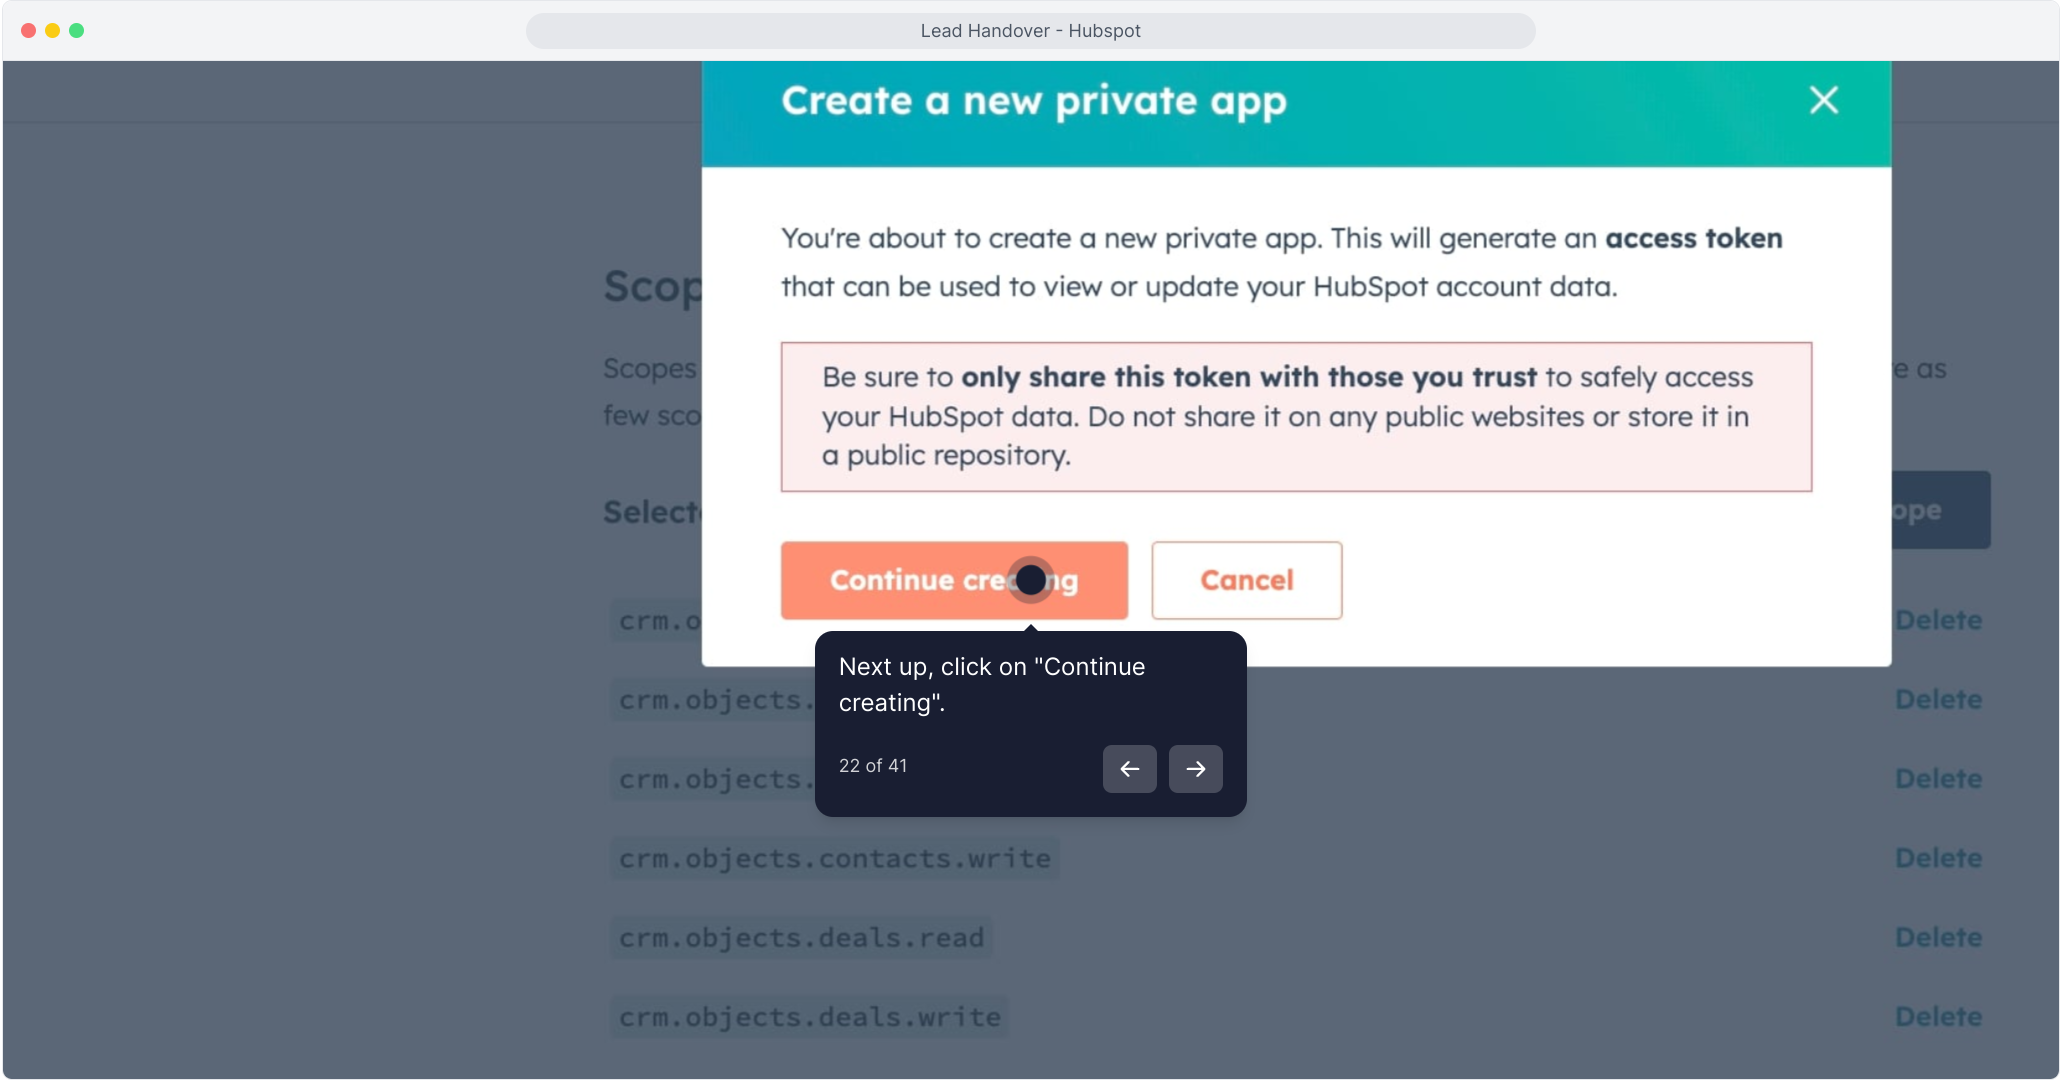
Click “Create a Private App”
Name your app (e.g. “MagicBlocks Sync”)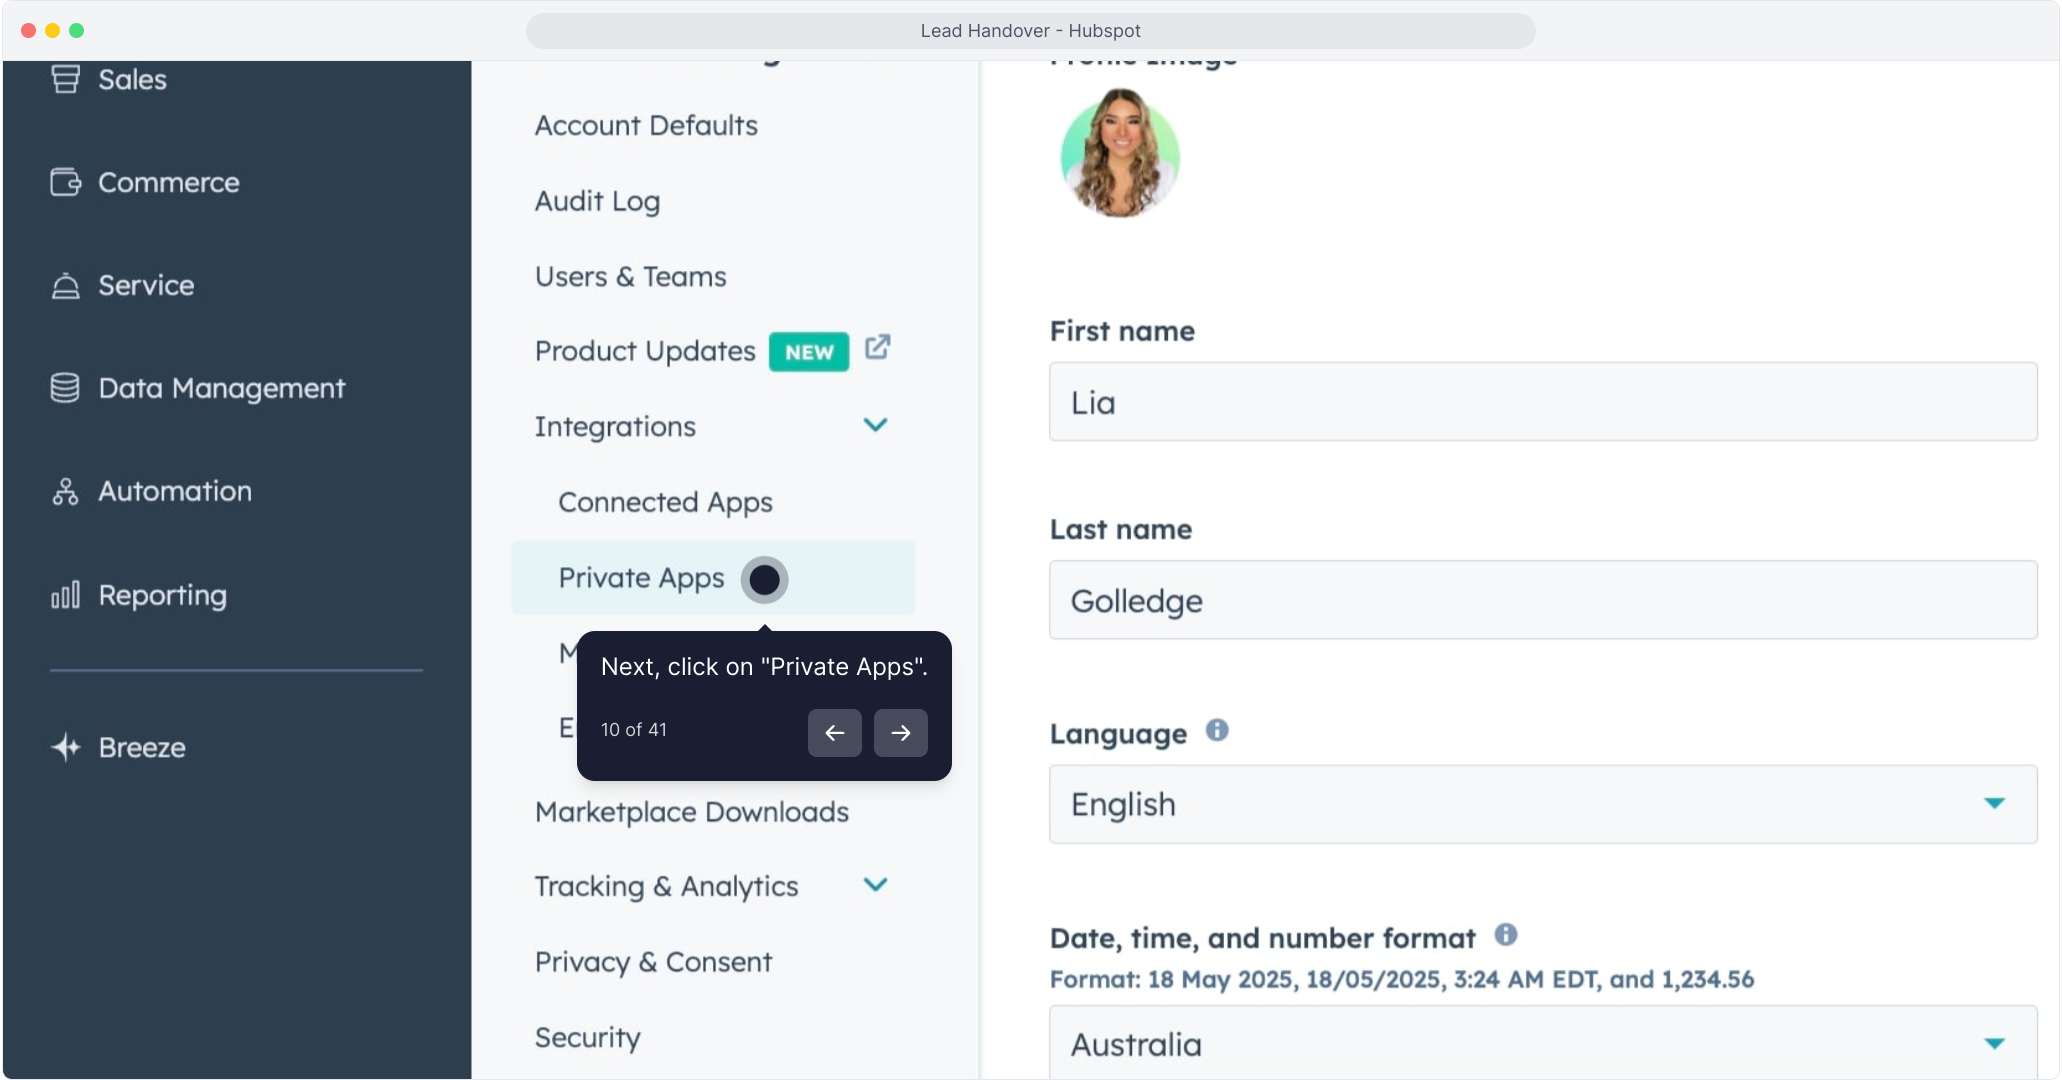
✅ Add These Scopes:
crm.objects.contacts.read – Read contact data
crm.objects.contacts.write – Create or update contacts
crm.objects.deals.read – Read deal data
crm.objects.deals.write – Create or update deals
crm.objects.companies.read – Read company data
crm.objects.companies.write – Create or update companies
crm.objects.line_items.read – (Optional) Read associated product/line item details
e-commerce – (Optional) Required if you're using HubSpot's e-commerce features
🔒 Pro Tip: Only include the scopes you actually need. This keeps your integration secure and streamlined.
Click Create App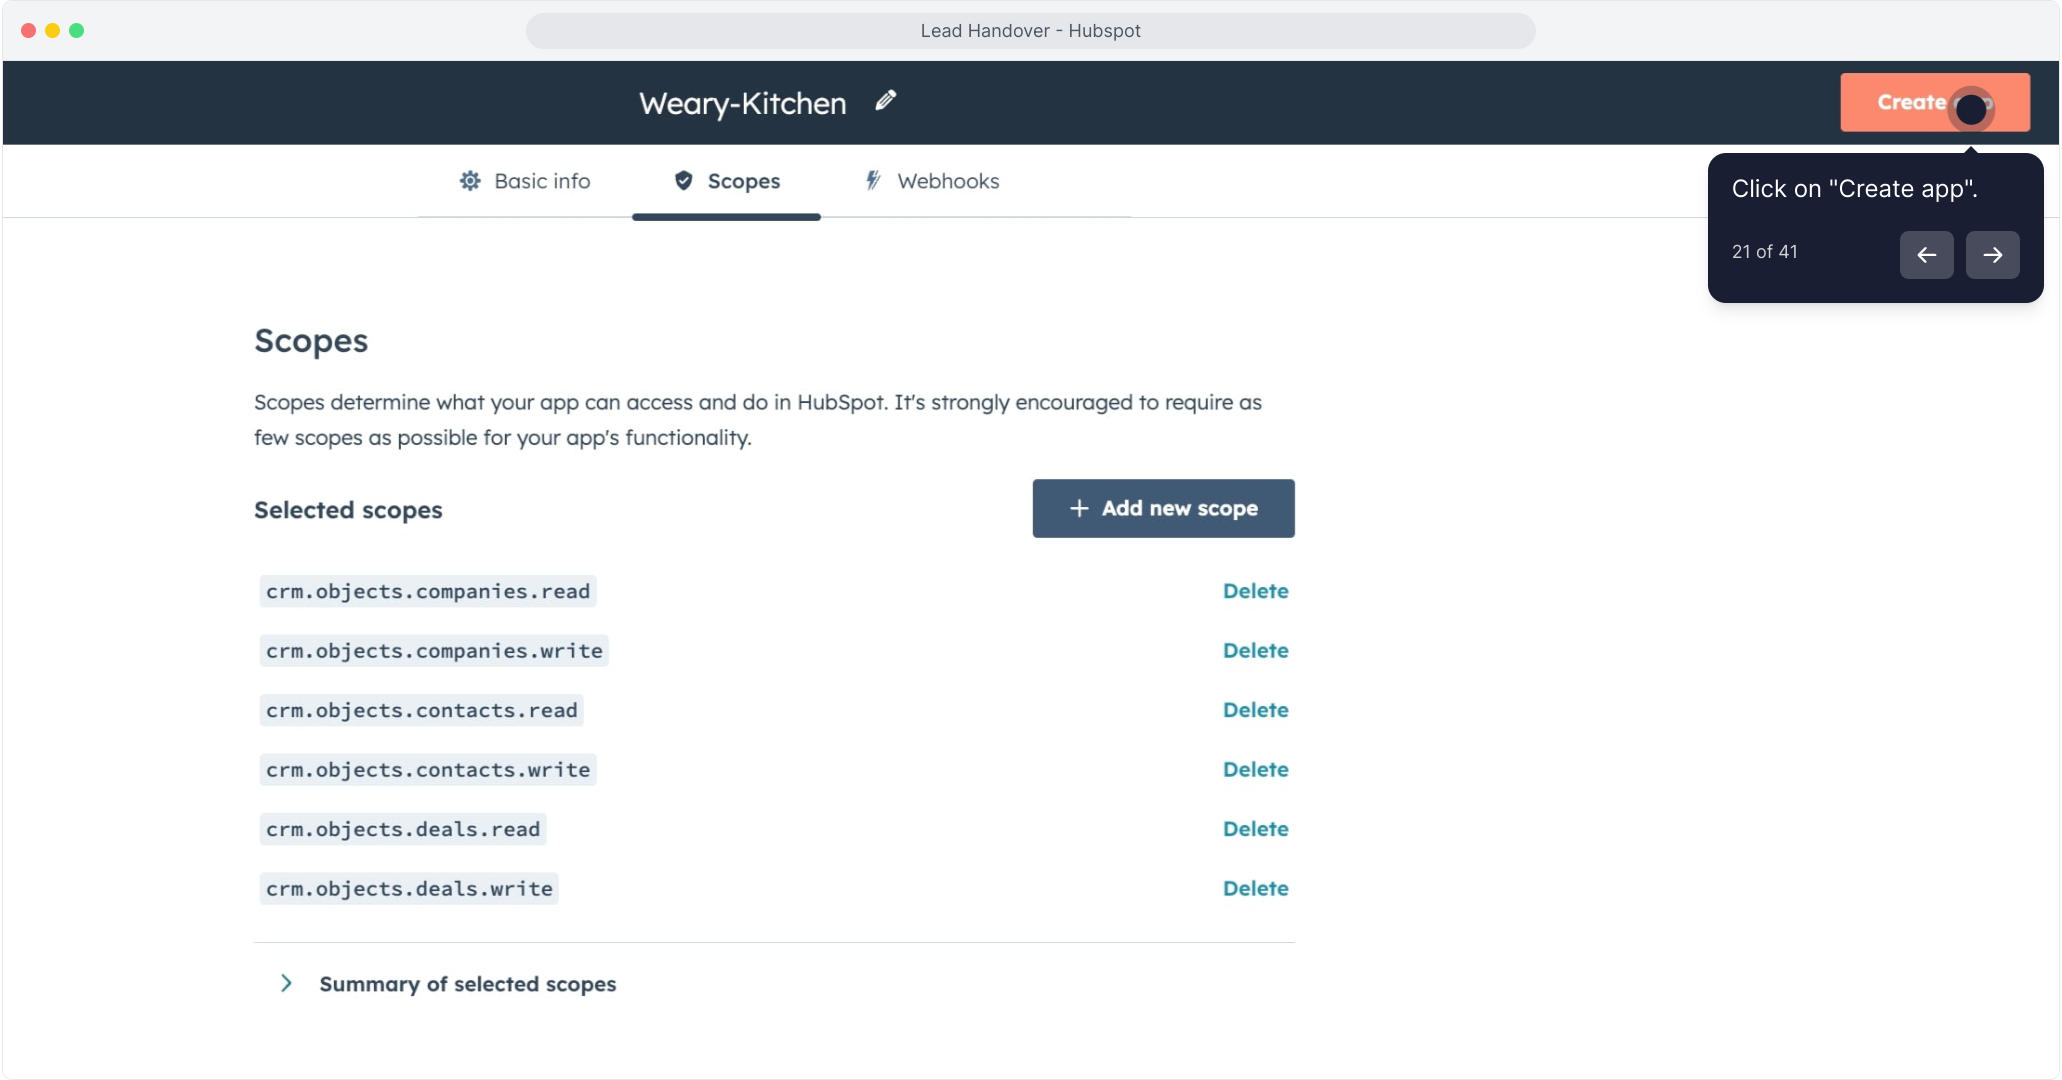
Copy the Access Token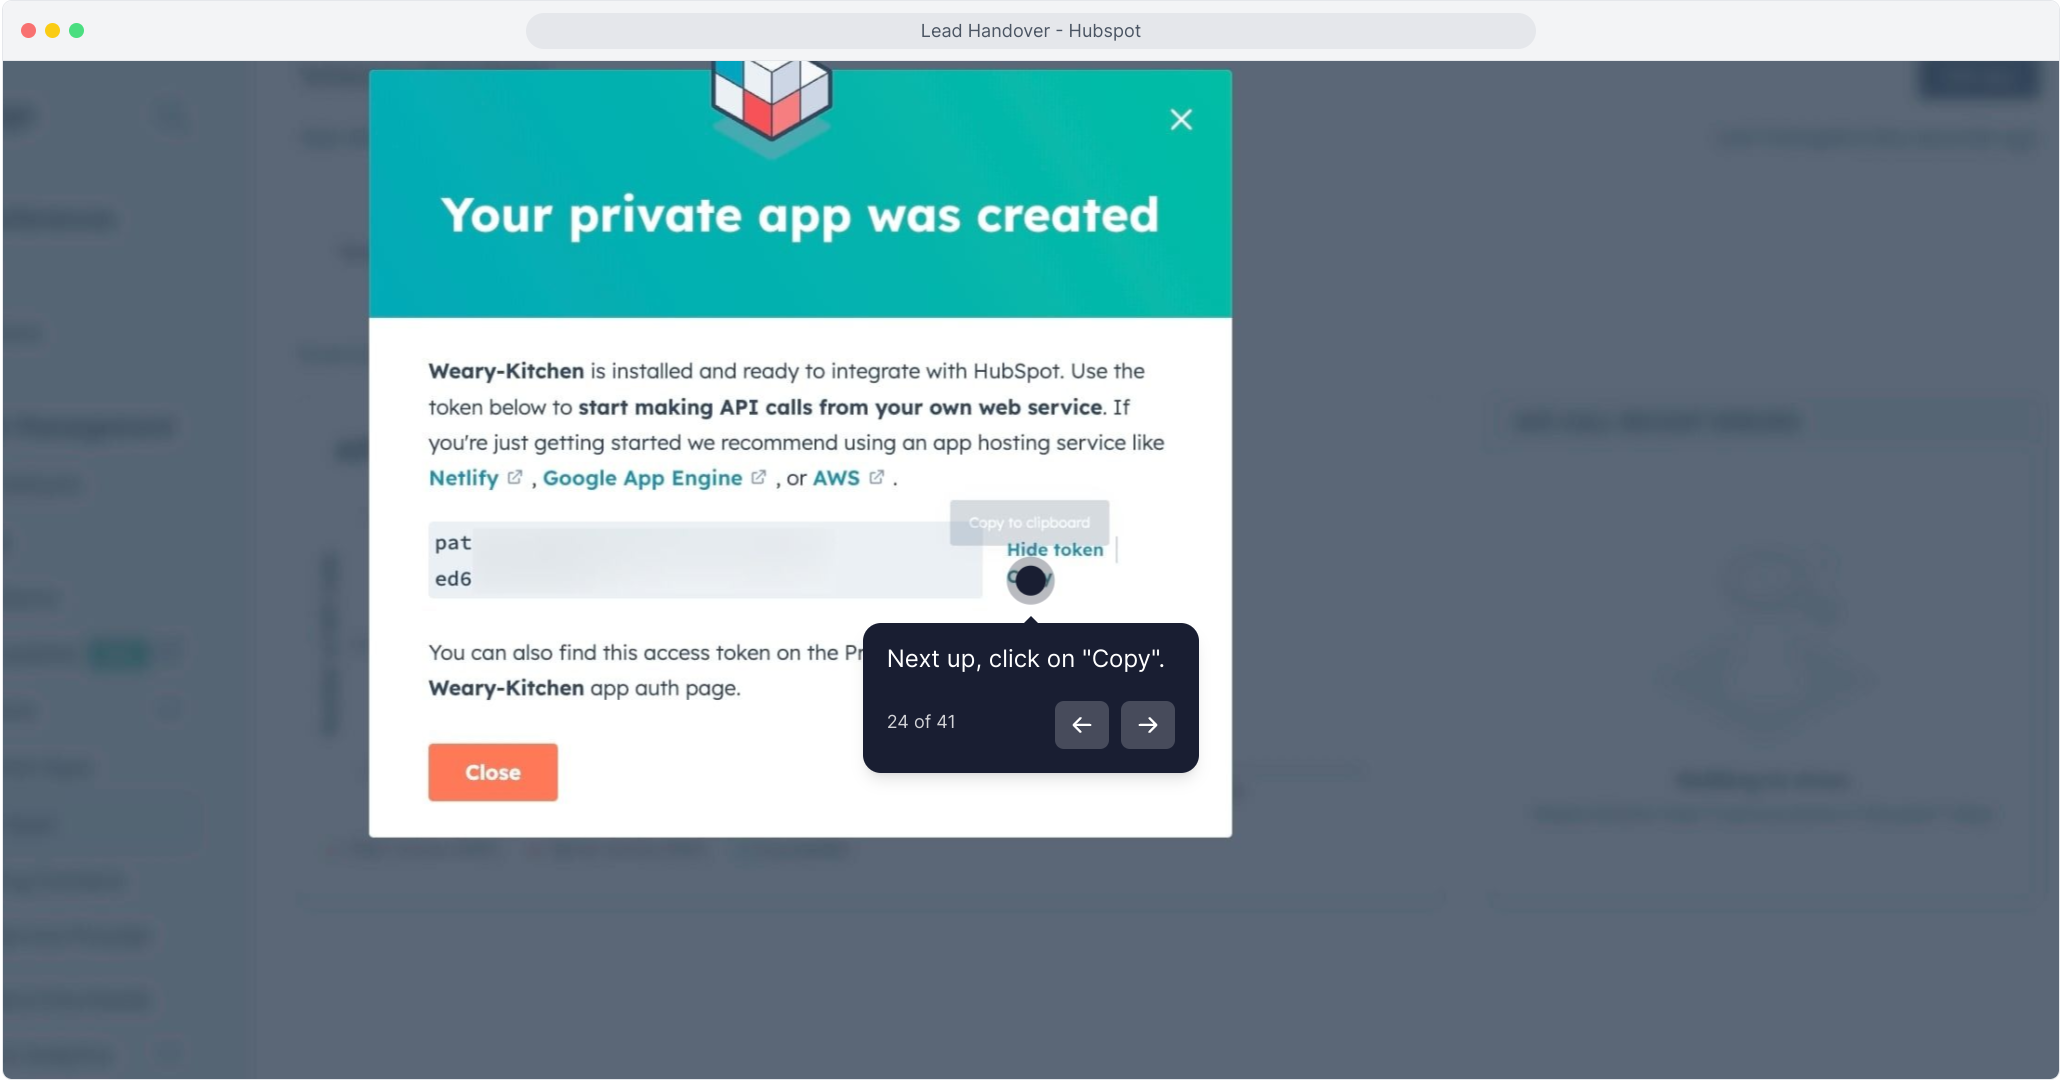
Paste it into MagicBlocks under Access Token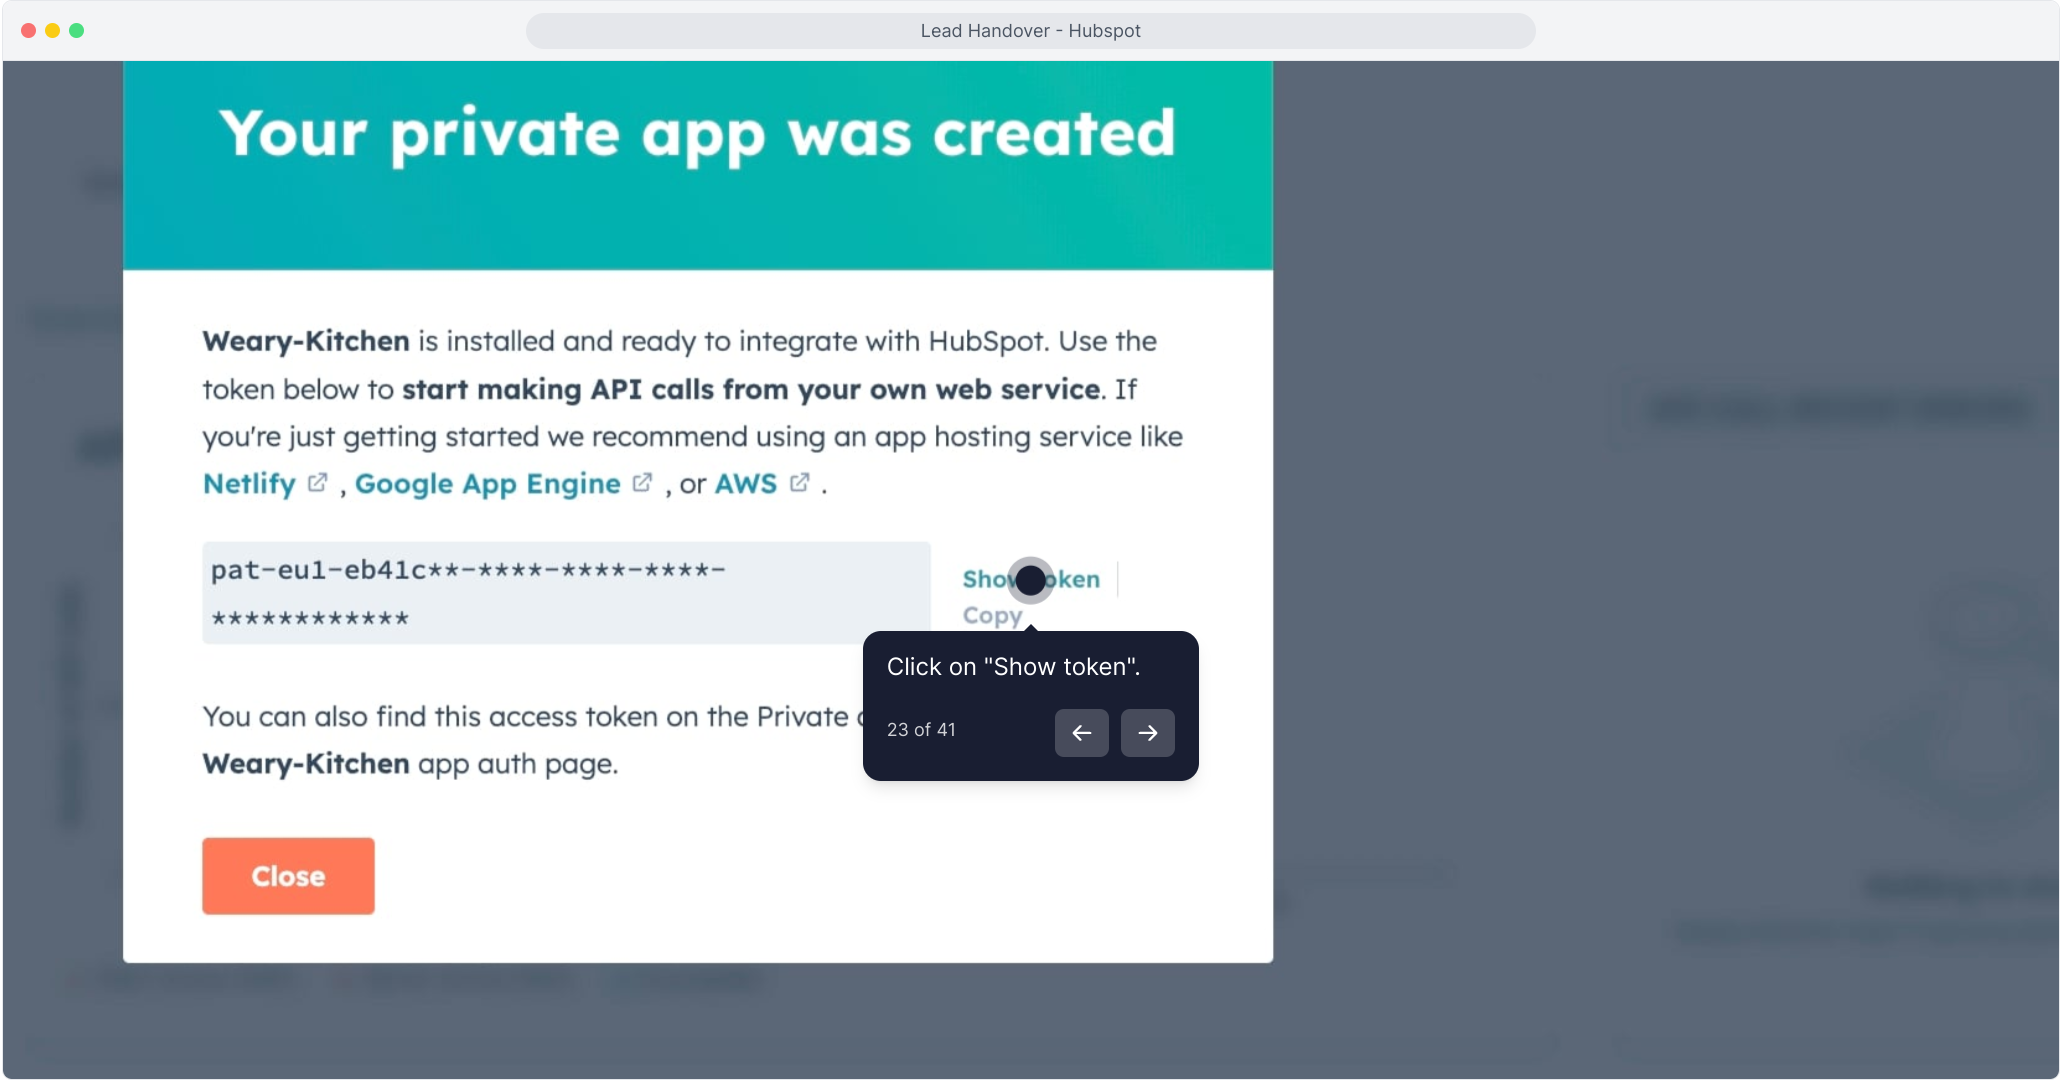
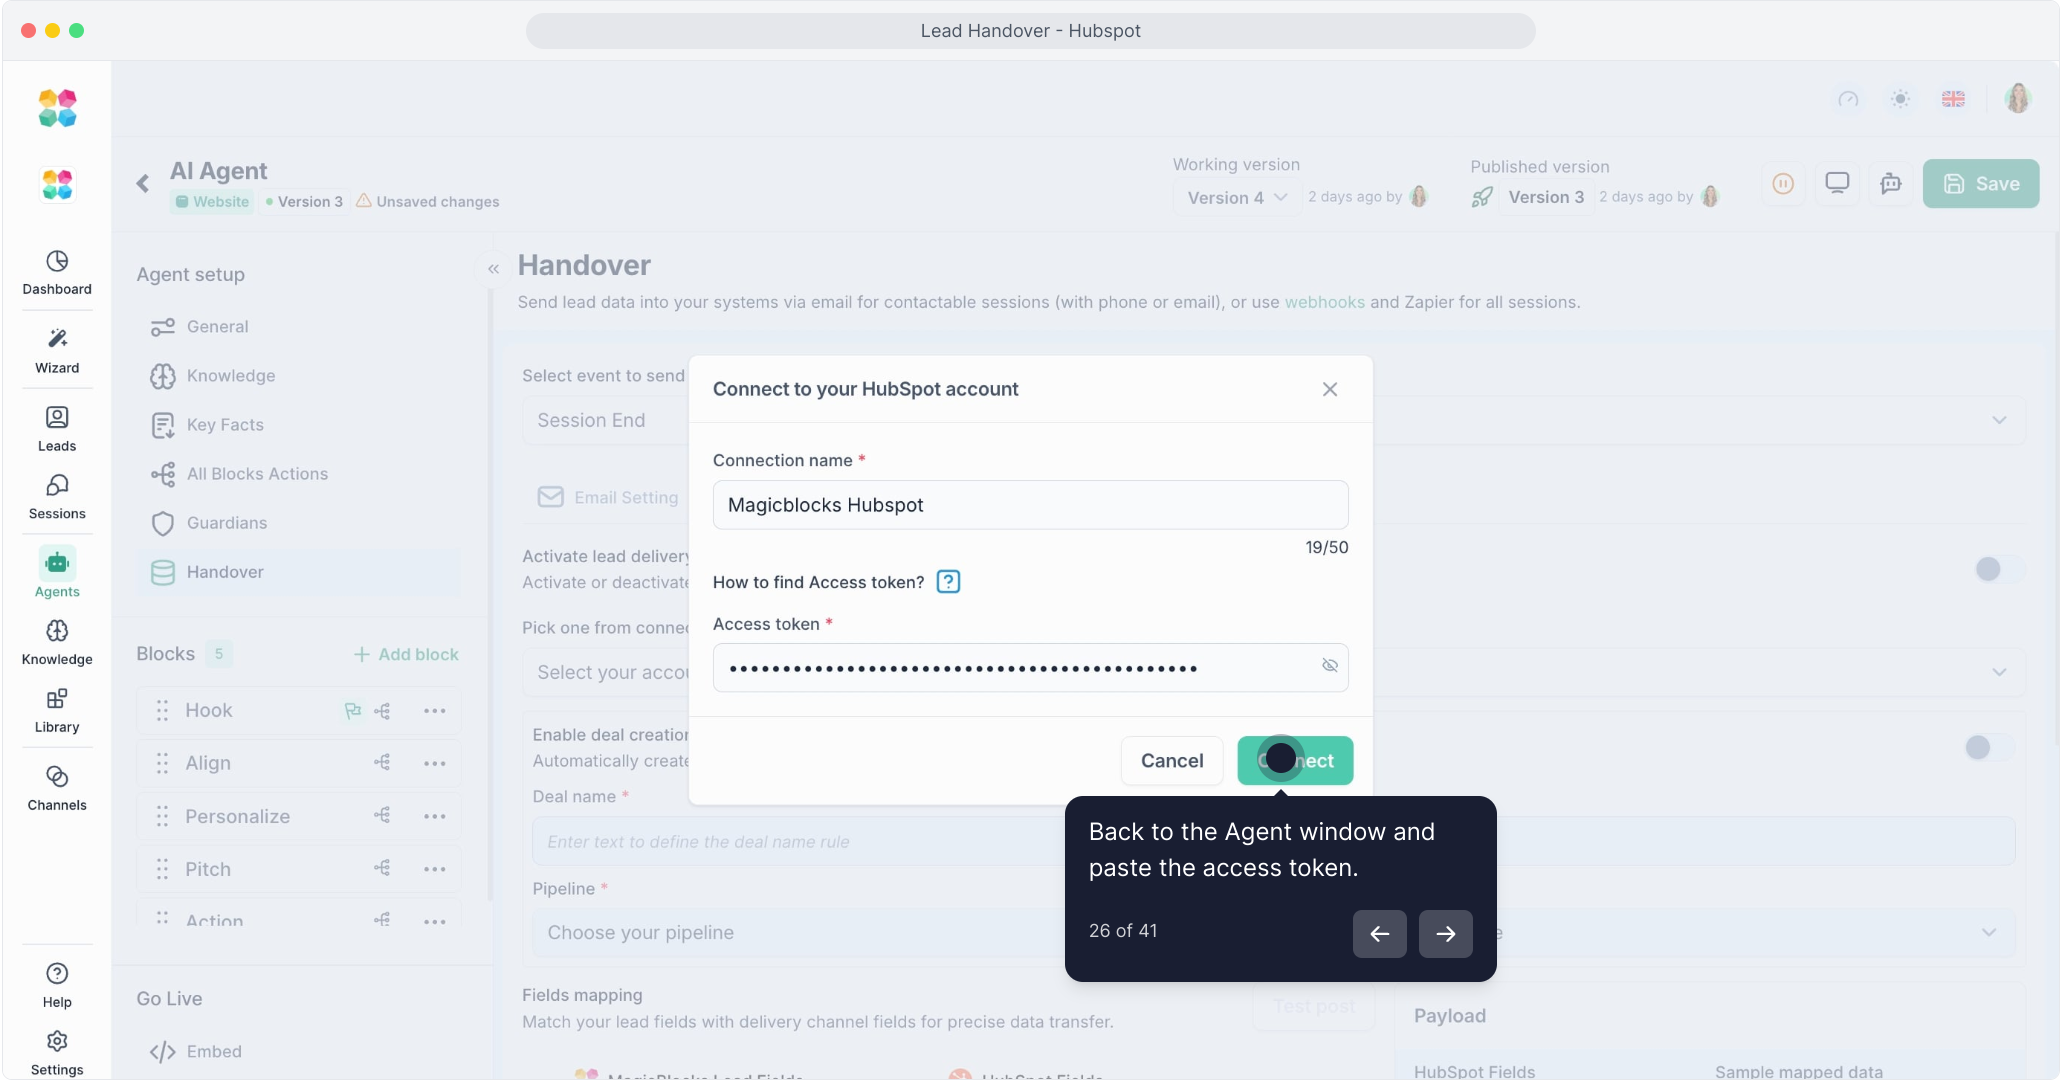
Hit Connect
✅ Your HubSpot Account is Now Connected!
From the dropdown, select your connected account. You’re now ready to automate deal creation.
🔁 Enable Auto Deal Creation (Optional but Powerful)
Toggle “Enable deal creation” to automatically create deals in HubSpot when a lead is captured.
Fill out:
Deal name – e.g. {{user_email}} MagicBlocks Lead
Pipeline – Choose the pipeline in your HubSpot CRM
Deal stage – Pick where you want new deals to land (e.g. “New Lead”)
🧬 Map Your Fields
Match MagicBlocks Lead Fields to HubSpot Fields for accurate data transfer.
Example mapping:
Phone ➡️ Phone
Email ➡️ Email
Click + Add fields to include custom fields like Name, Company, Zip Code, etc.
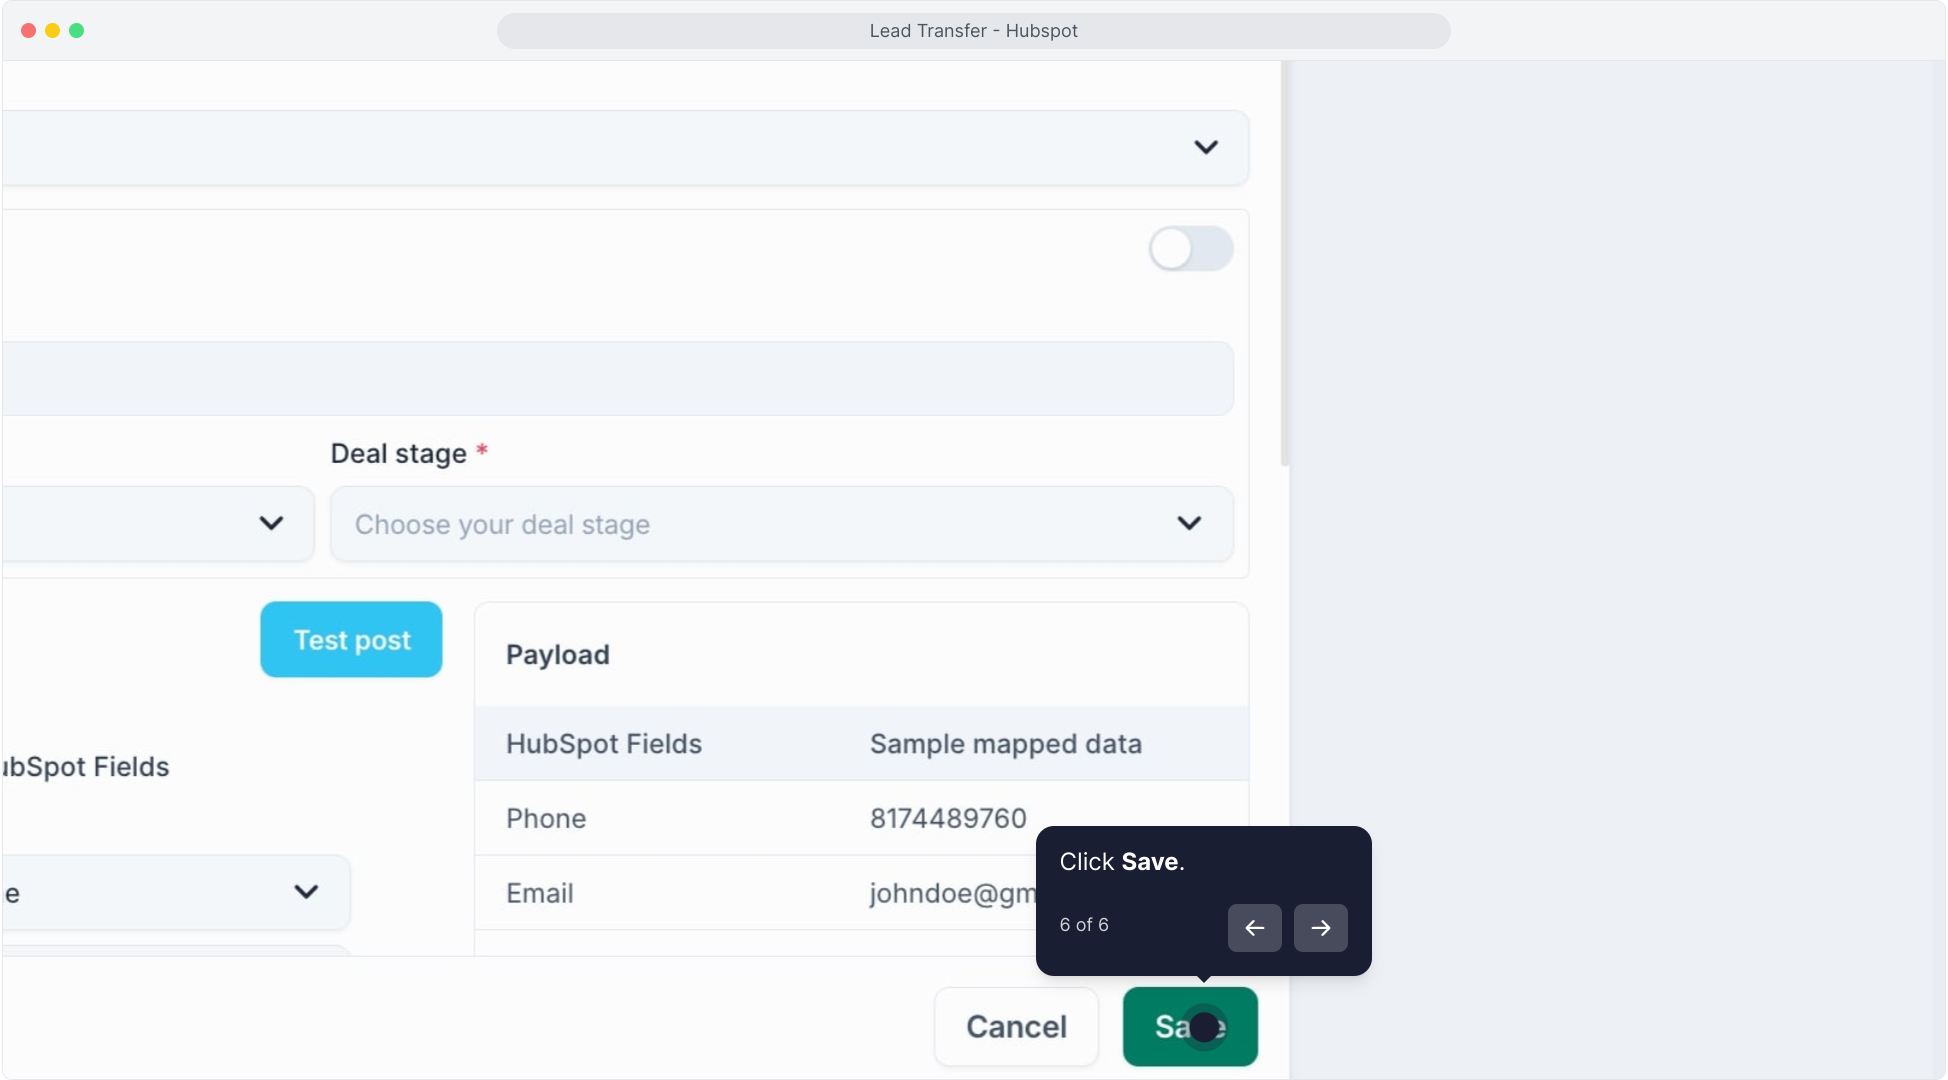
🧪 Test Your Connection
Once your fields are mapped, click Test Post to simulate sending a lead.
On the right, check the Payload section to confirm correct formatting and values:
✅ Phone → 8174489760
✅ Email → johndoe@gmail.com
🎉 You’re All Set!
Your MagicBlocks AI Agent is now fully connected to HubSpot CRM.
From now on, qualified leads will flow directly into your CRM with mapped fields, assigned deals, and zero manual work.